So as I have been home brewing for a little over a year now, going to be two years this coming March, and I keep getting more and more toys. The thing about brewing is there are a lot of rabbit holes you can go down and for this rabbit hole, I decided to purchase a FermZilla All Rounder. What Rabbit hole is this?, well its pressure fermentation s. I watch a lot of the big brewer You-tuber’s out there and they have been talking about pressure fermentation for awhile now and I have finally decided to try this out. Not only pressure fermentation, I also decided to your a Kveik yeast. That is another rabbit hole that I won’t go down this in this review.
The FermZilla All Rounder, what is it, well according to MoreBeer.com’s description its the most affordably PET plastic fermentor with the ability to withstand pressure to about 35psi. For a little over a $100 you can have a pressure fermentor.
The All Rounder $49.99
The Pressure kit $21.99 (Plastic) $29.99 (stainless) <– recommend stainless
The Spunding Valve $29.99
Really you can do this really cheap with a keg and spunding valve but that is another post down the road.
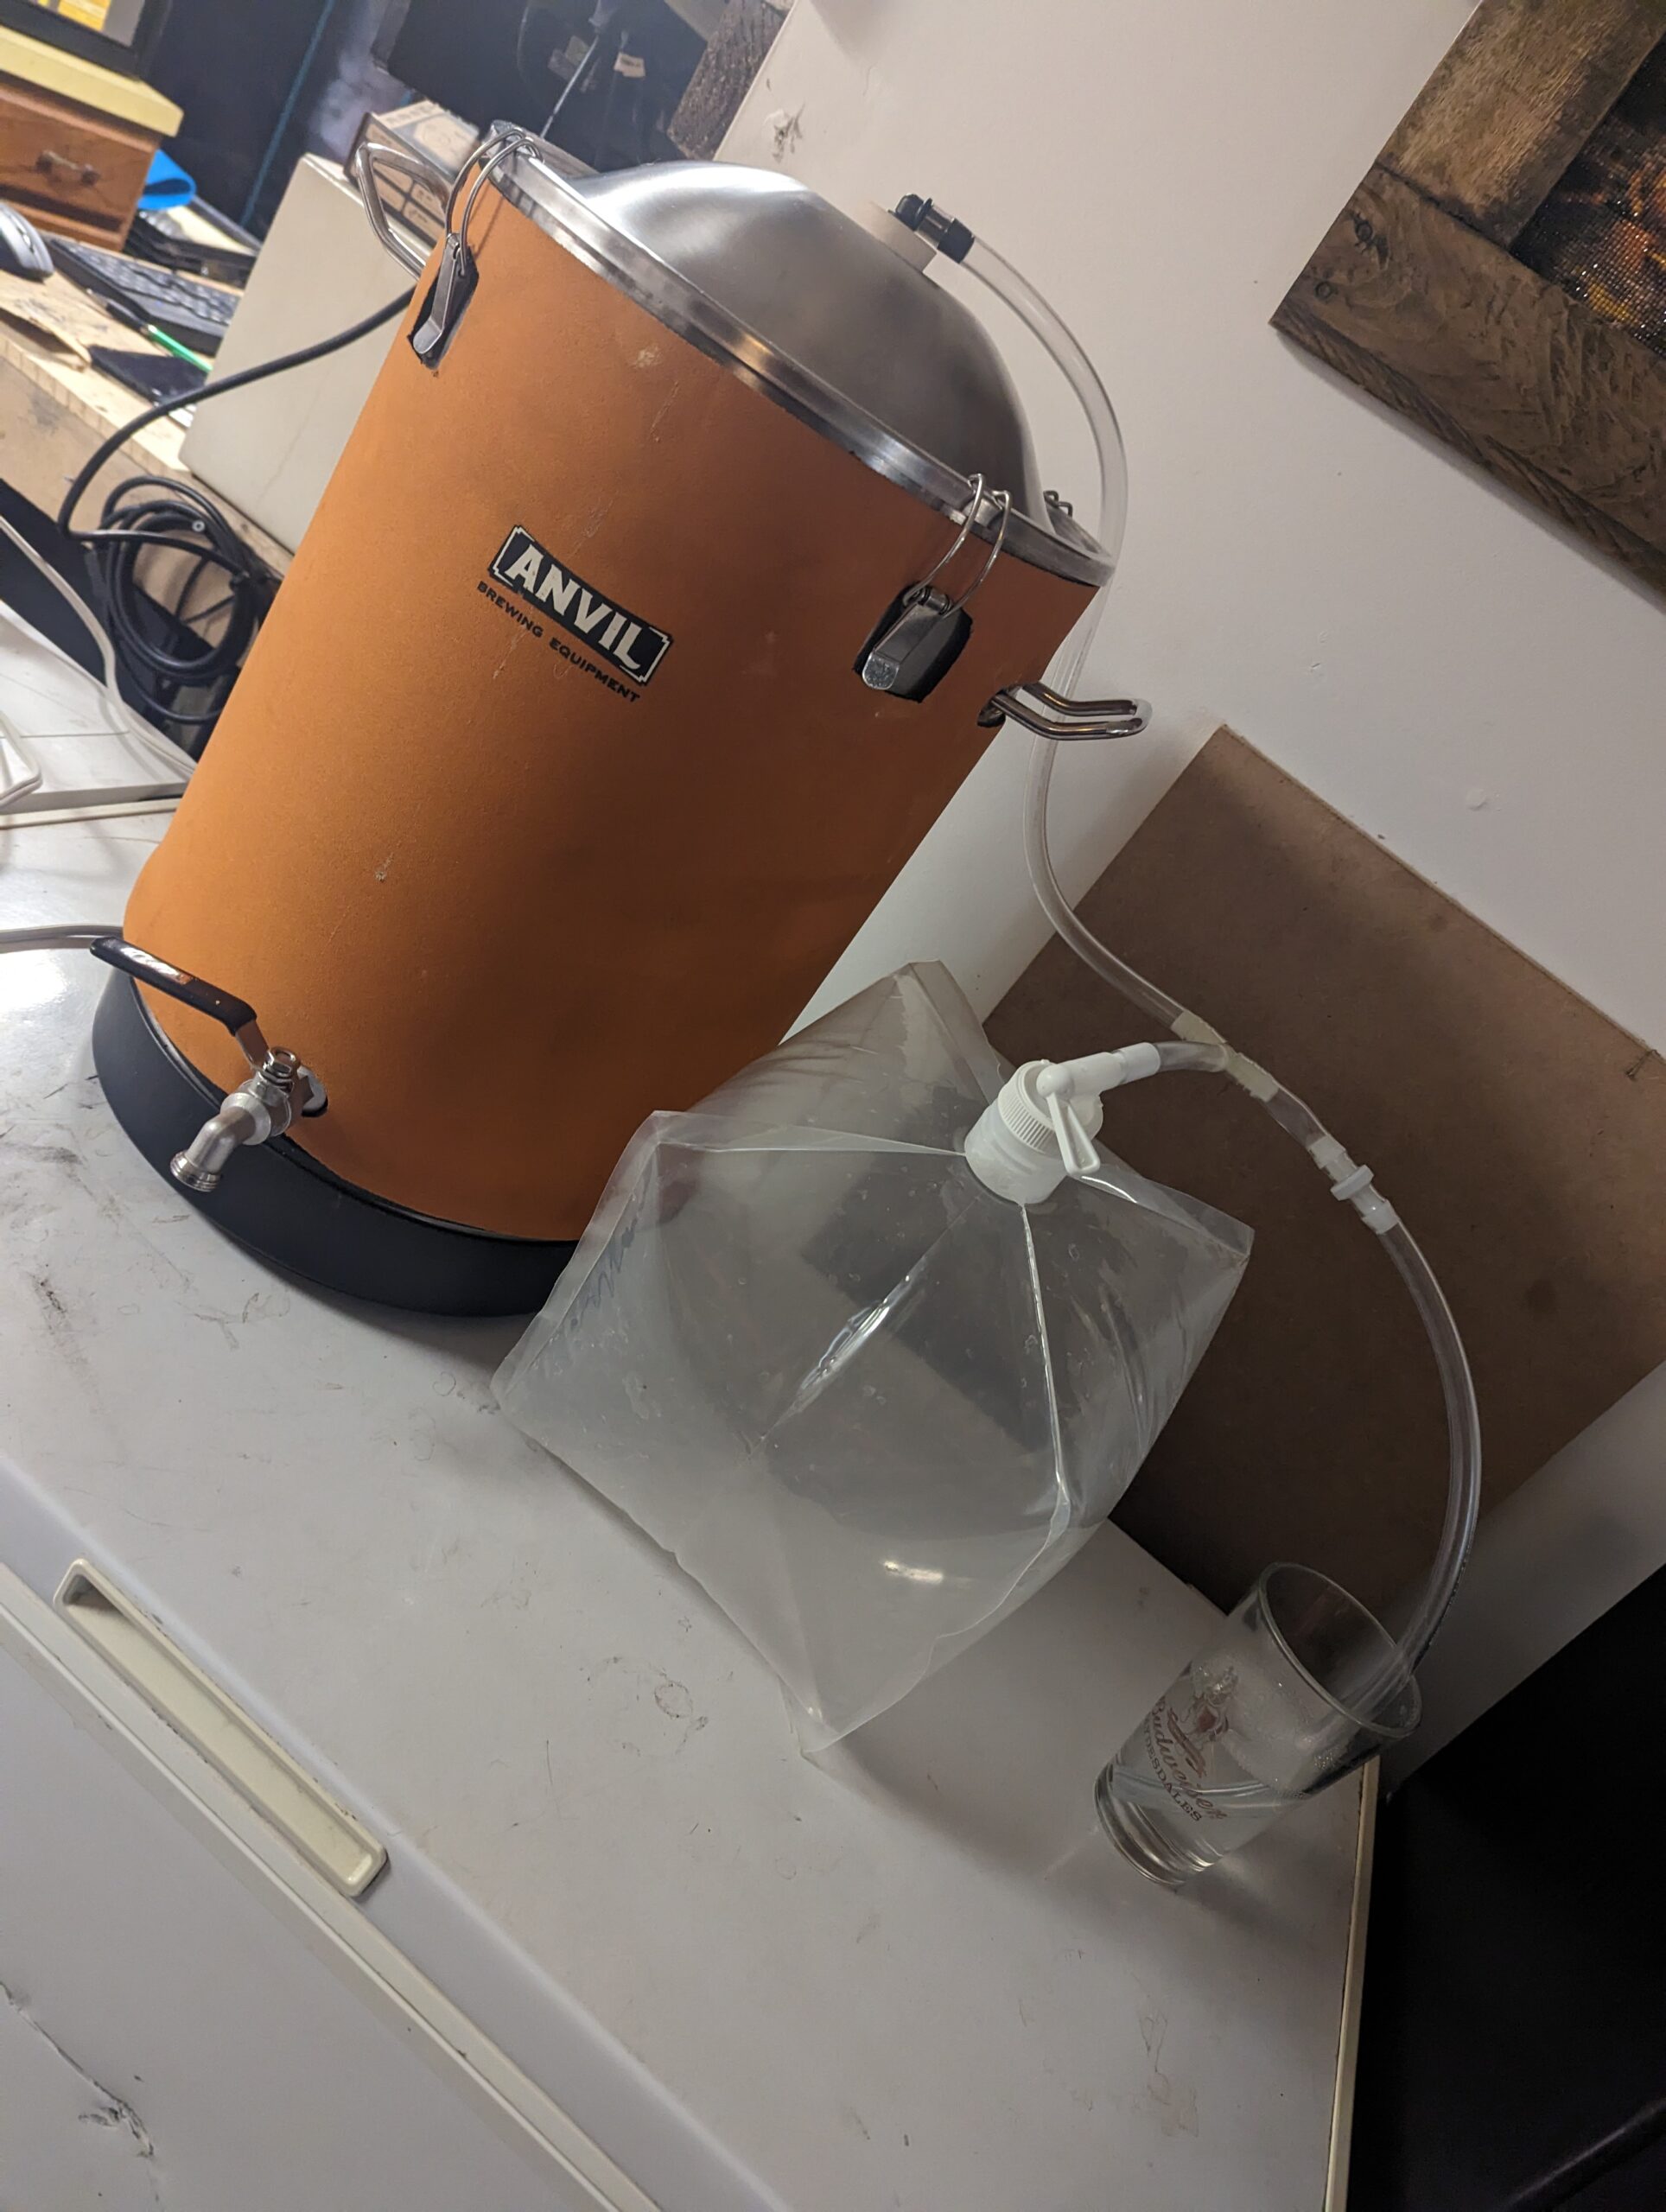
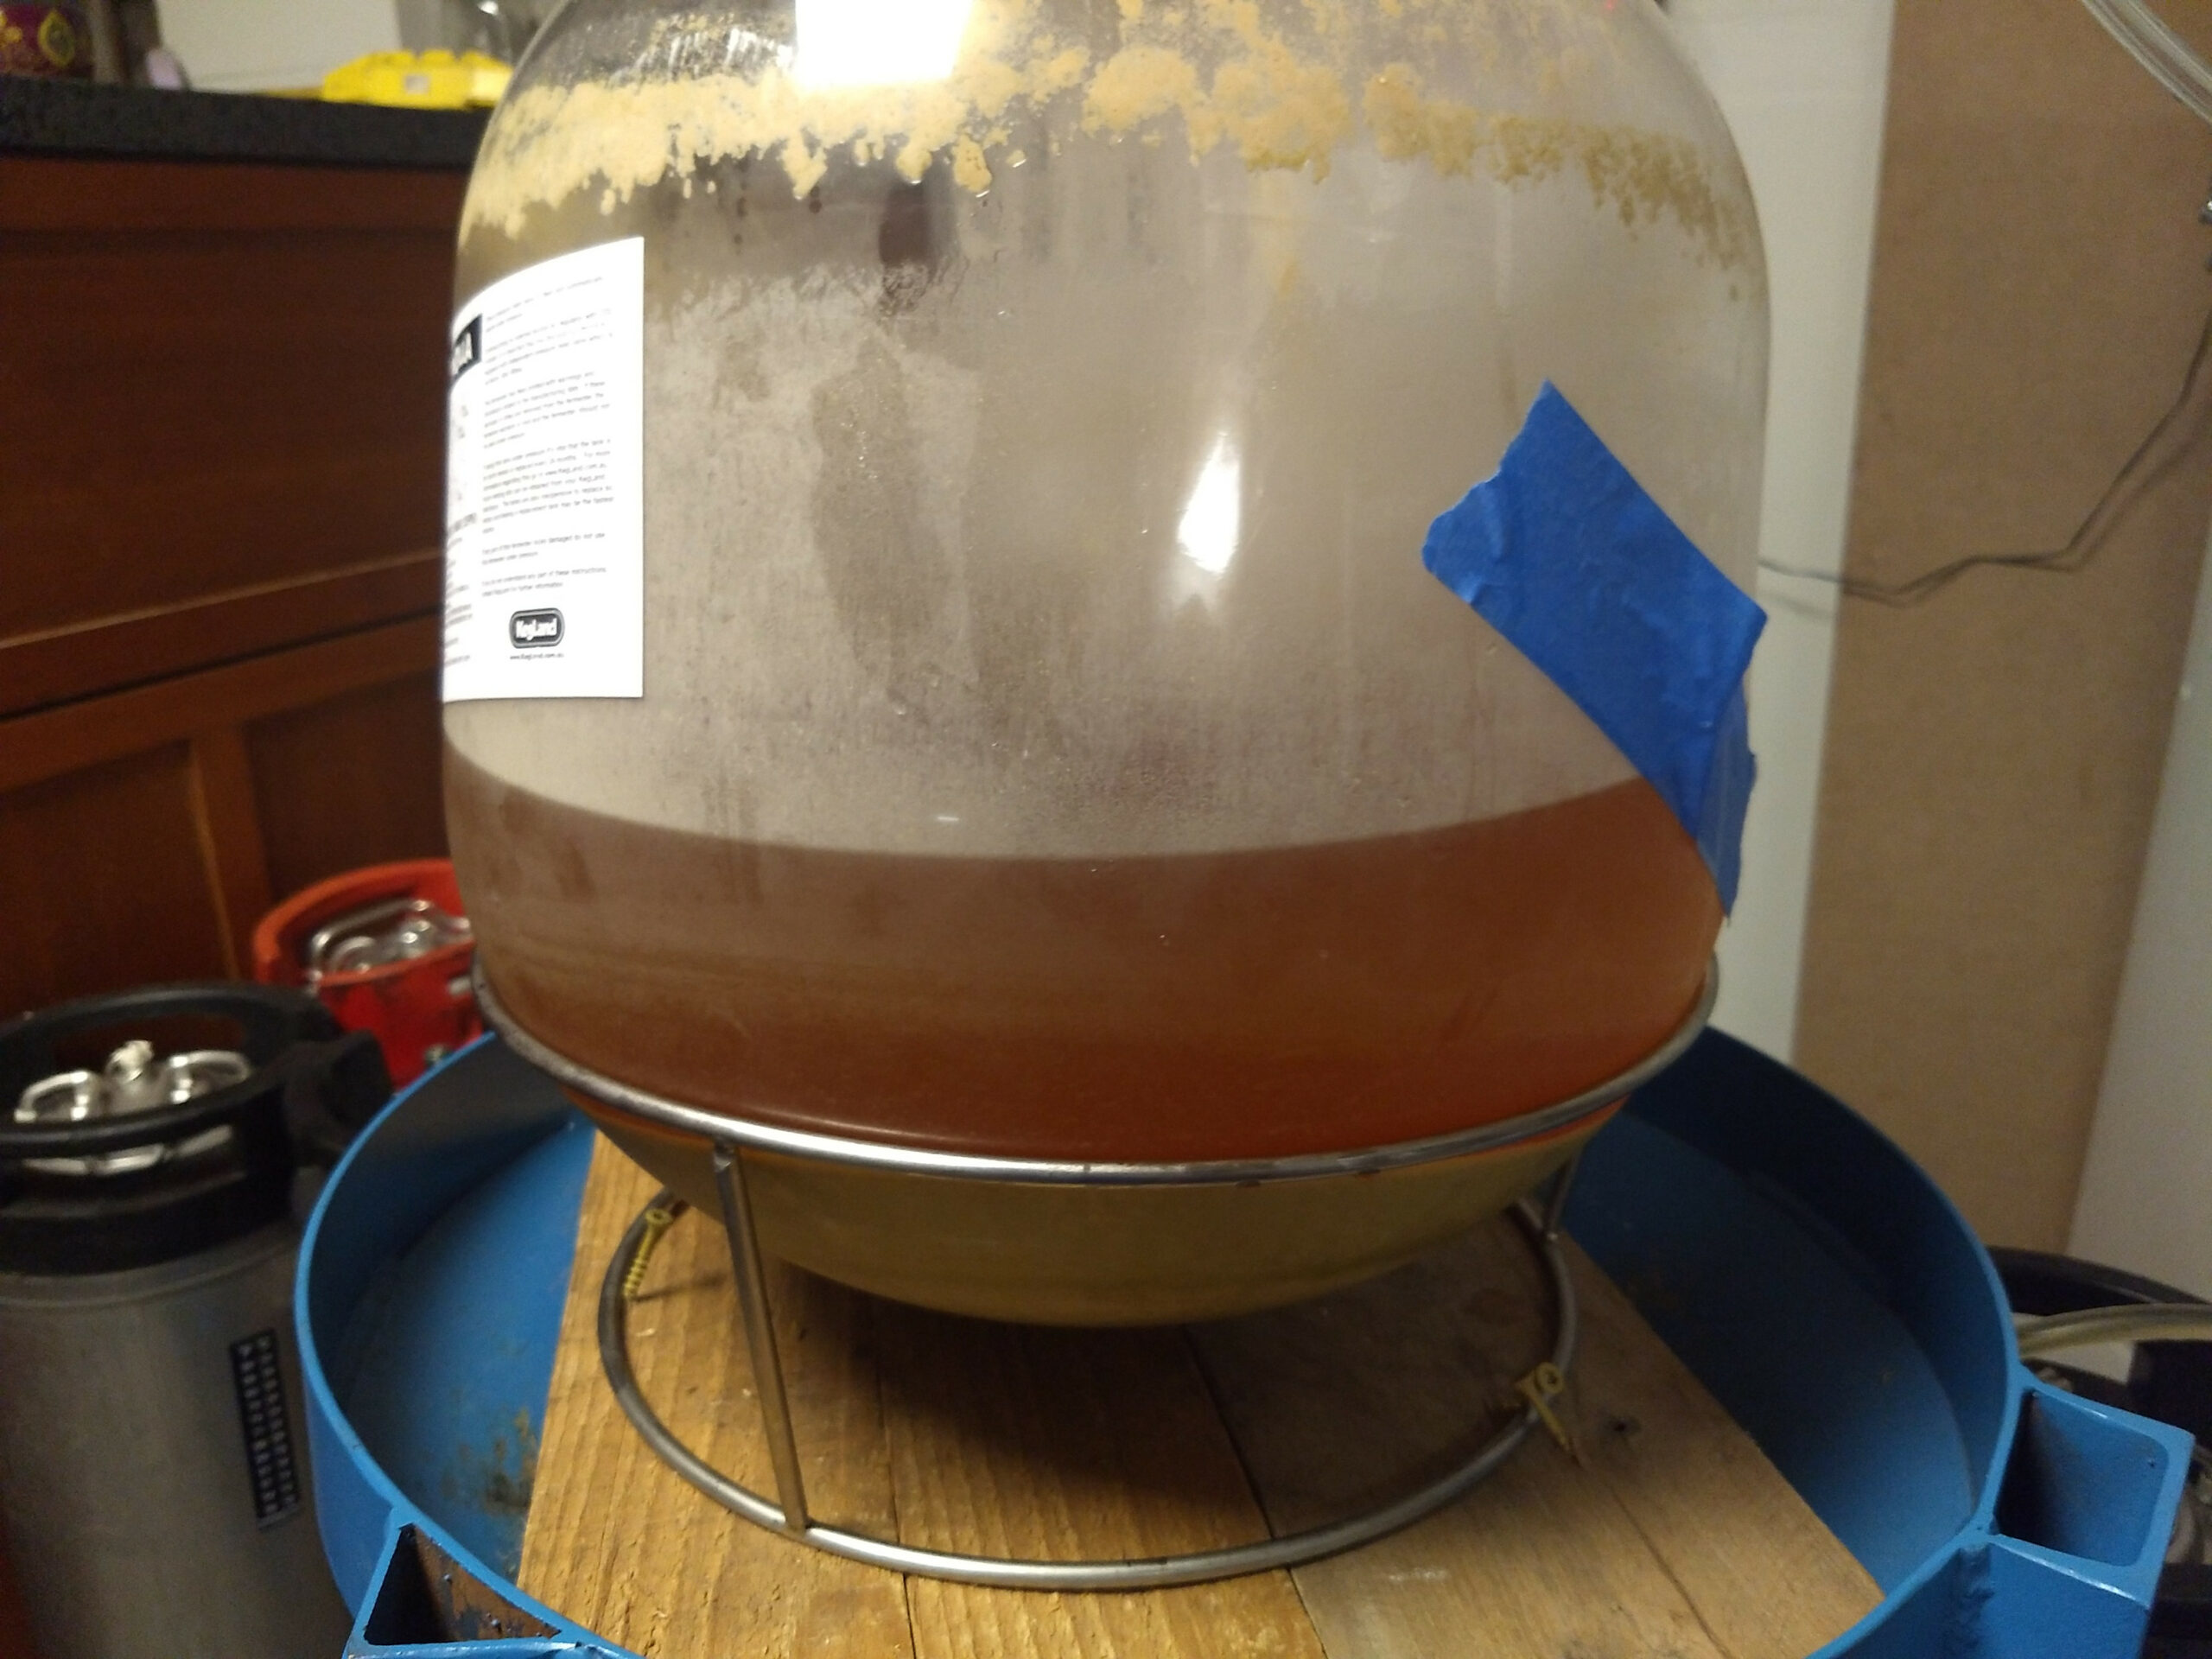
When I first received my all rounder, I filled it up and pressure tested to make sure there is no issues. I have heard horror stories of leaks out of the lids and happy I had no issues. I guess the first few generations the o-ring sat differently in the lid which was causing the leaking issues. Now the o-ring has its own grove it sits in on the side. After pressure testing I adjusted my spunding valve to about 15 PSI, depressurized, added in my sanitizer, drained, and than added in my wort. I added my wort in hot at about 90 degrees which it handled without issue. According the the instructions this is good to about 130 degrees. Pitched yeast and within 4 hours I was sitting at 15 psi and there was activity in the sanitizer bottle along with the yeast flying around. So as you may have seen before I use stainless steel buckets so its kinda nice to see the activity.
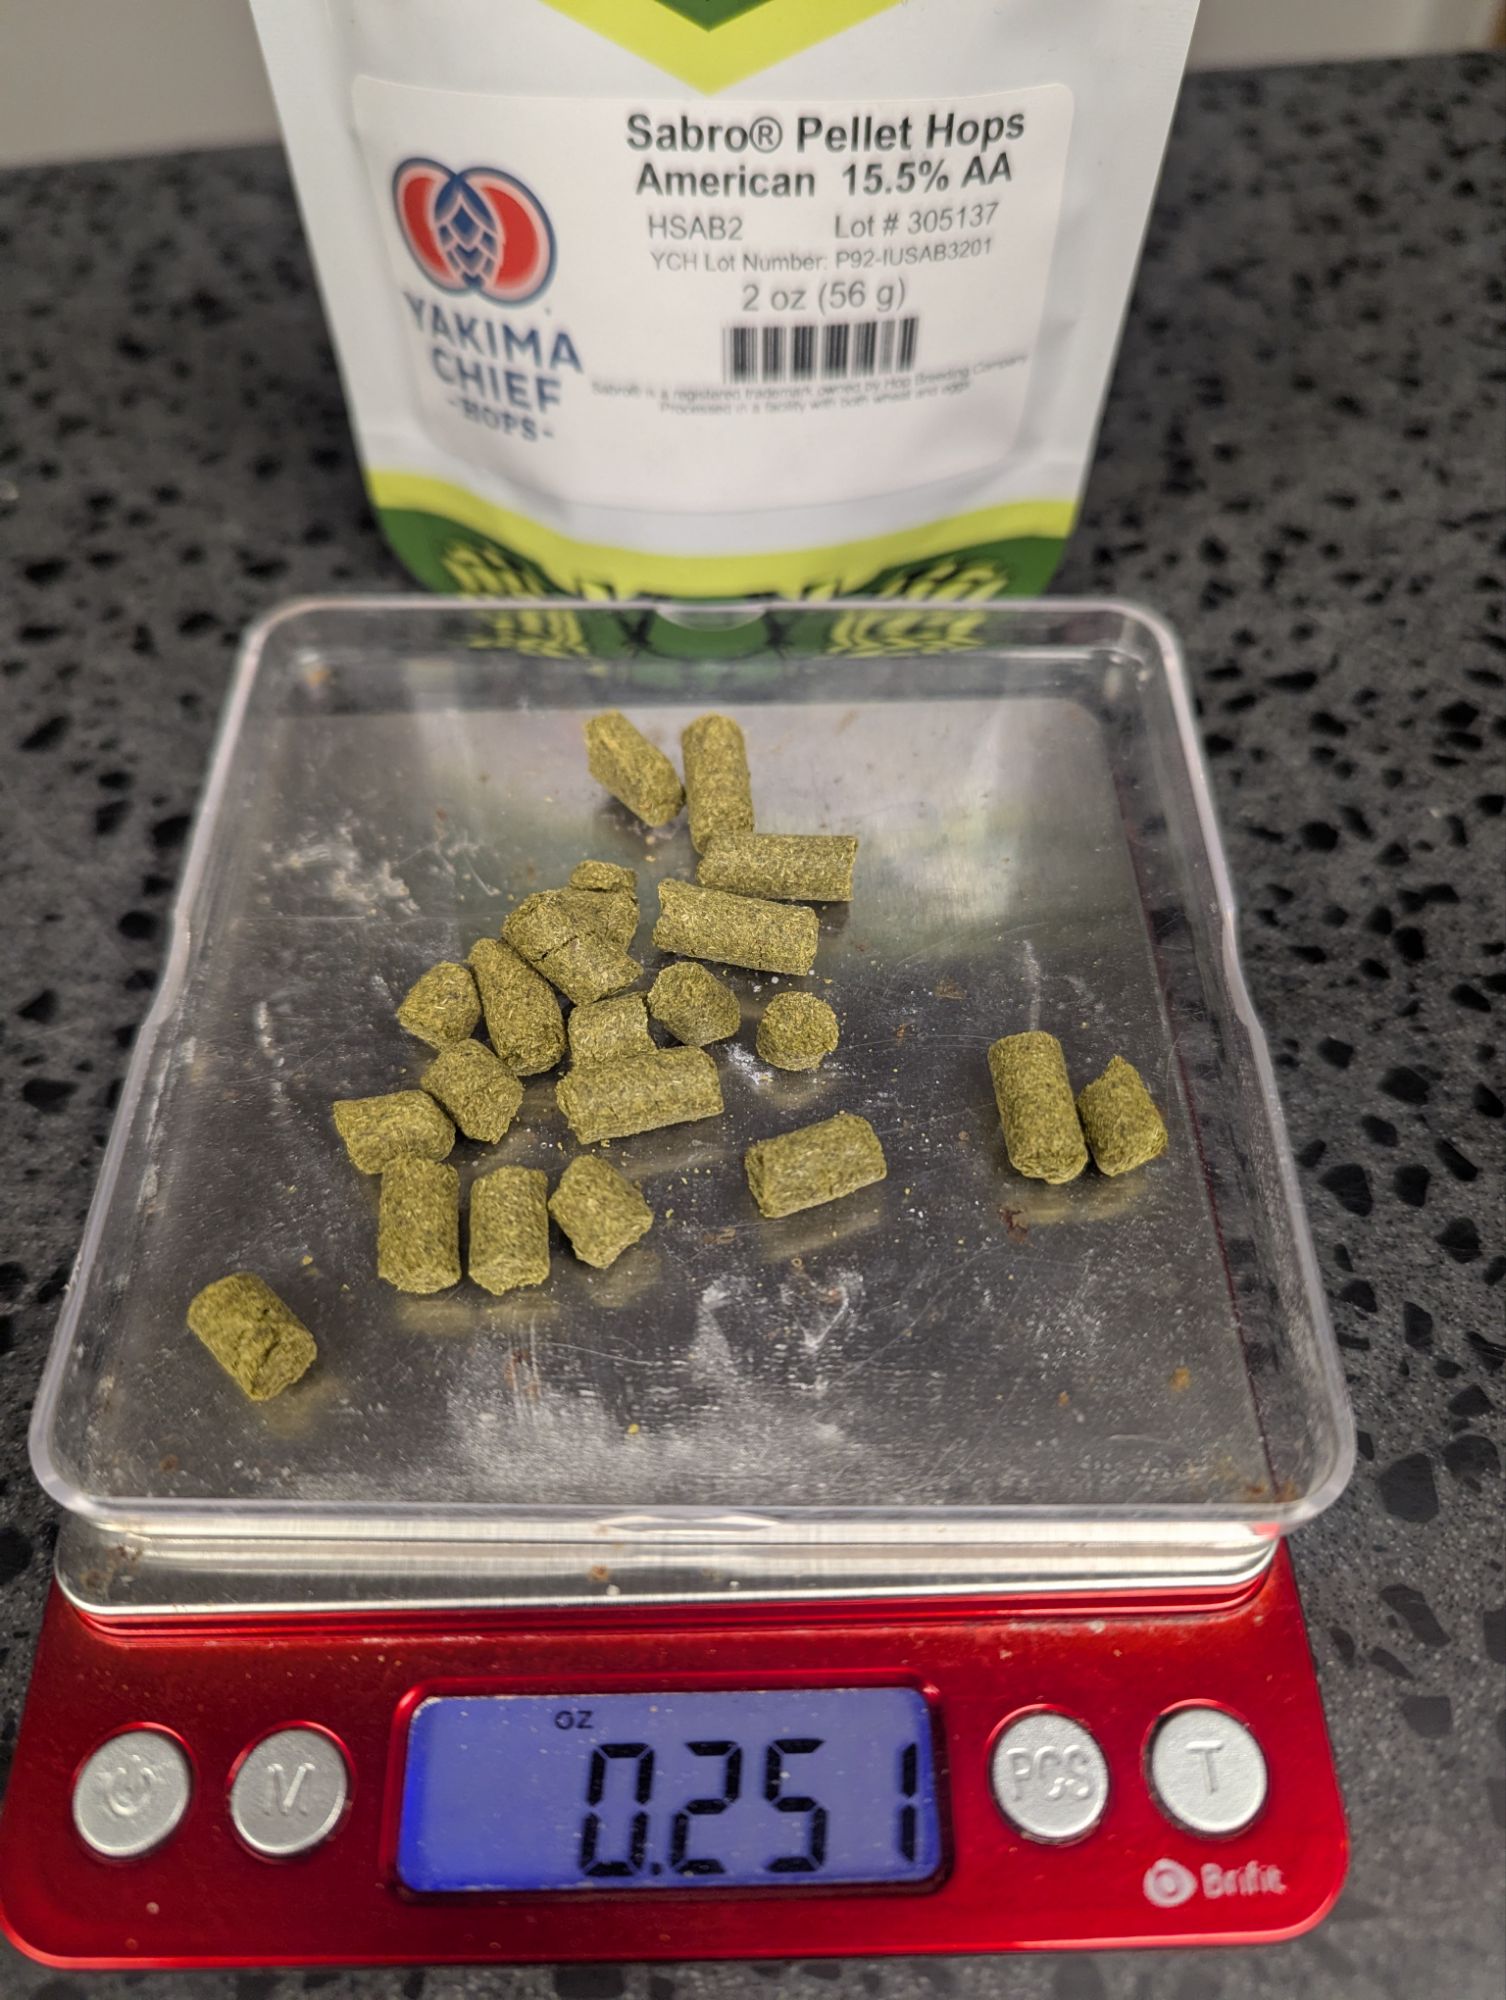
Well 3 days went by and the beer was done, I think. The downside about pressure fermenting is that your reading are harder to get. I went off the activity in the jar along with what was going on inside the fermentor. I decided it was time to dry hop this beer. This was another thing I watched a lot on as I have seen some dry hops when added cause a funnel of beer as when the hops hit the carbonated beer the CO2 leaves solution really quick which causes the head to rise and shoot out of the fermentor. Basically I released the pressure and waited, continued to do that for about 30 mins and than the pressure was gone and I was able to add in the hops. Below is a video of what happens. Good old Dr Hans, he has a lot of good videos
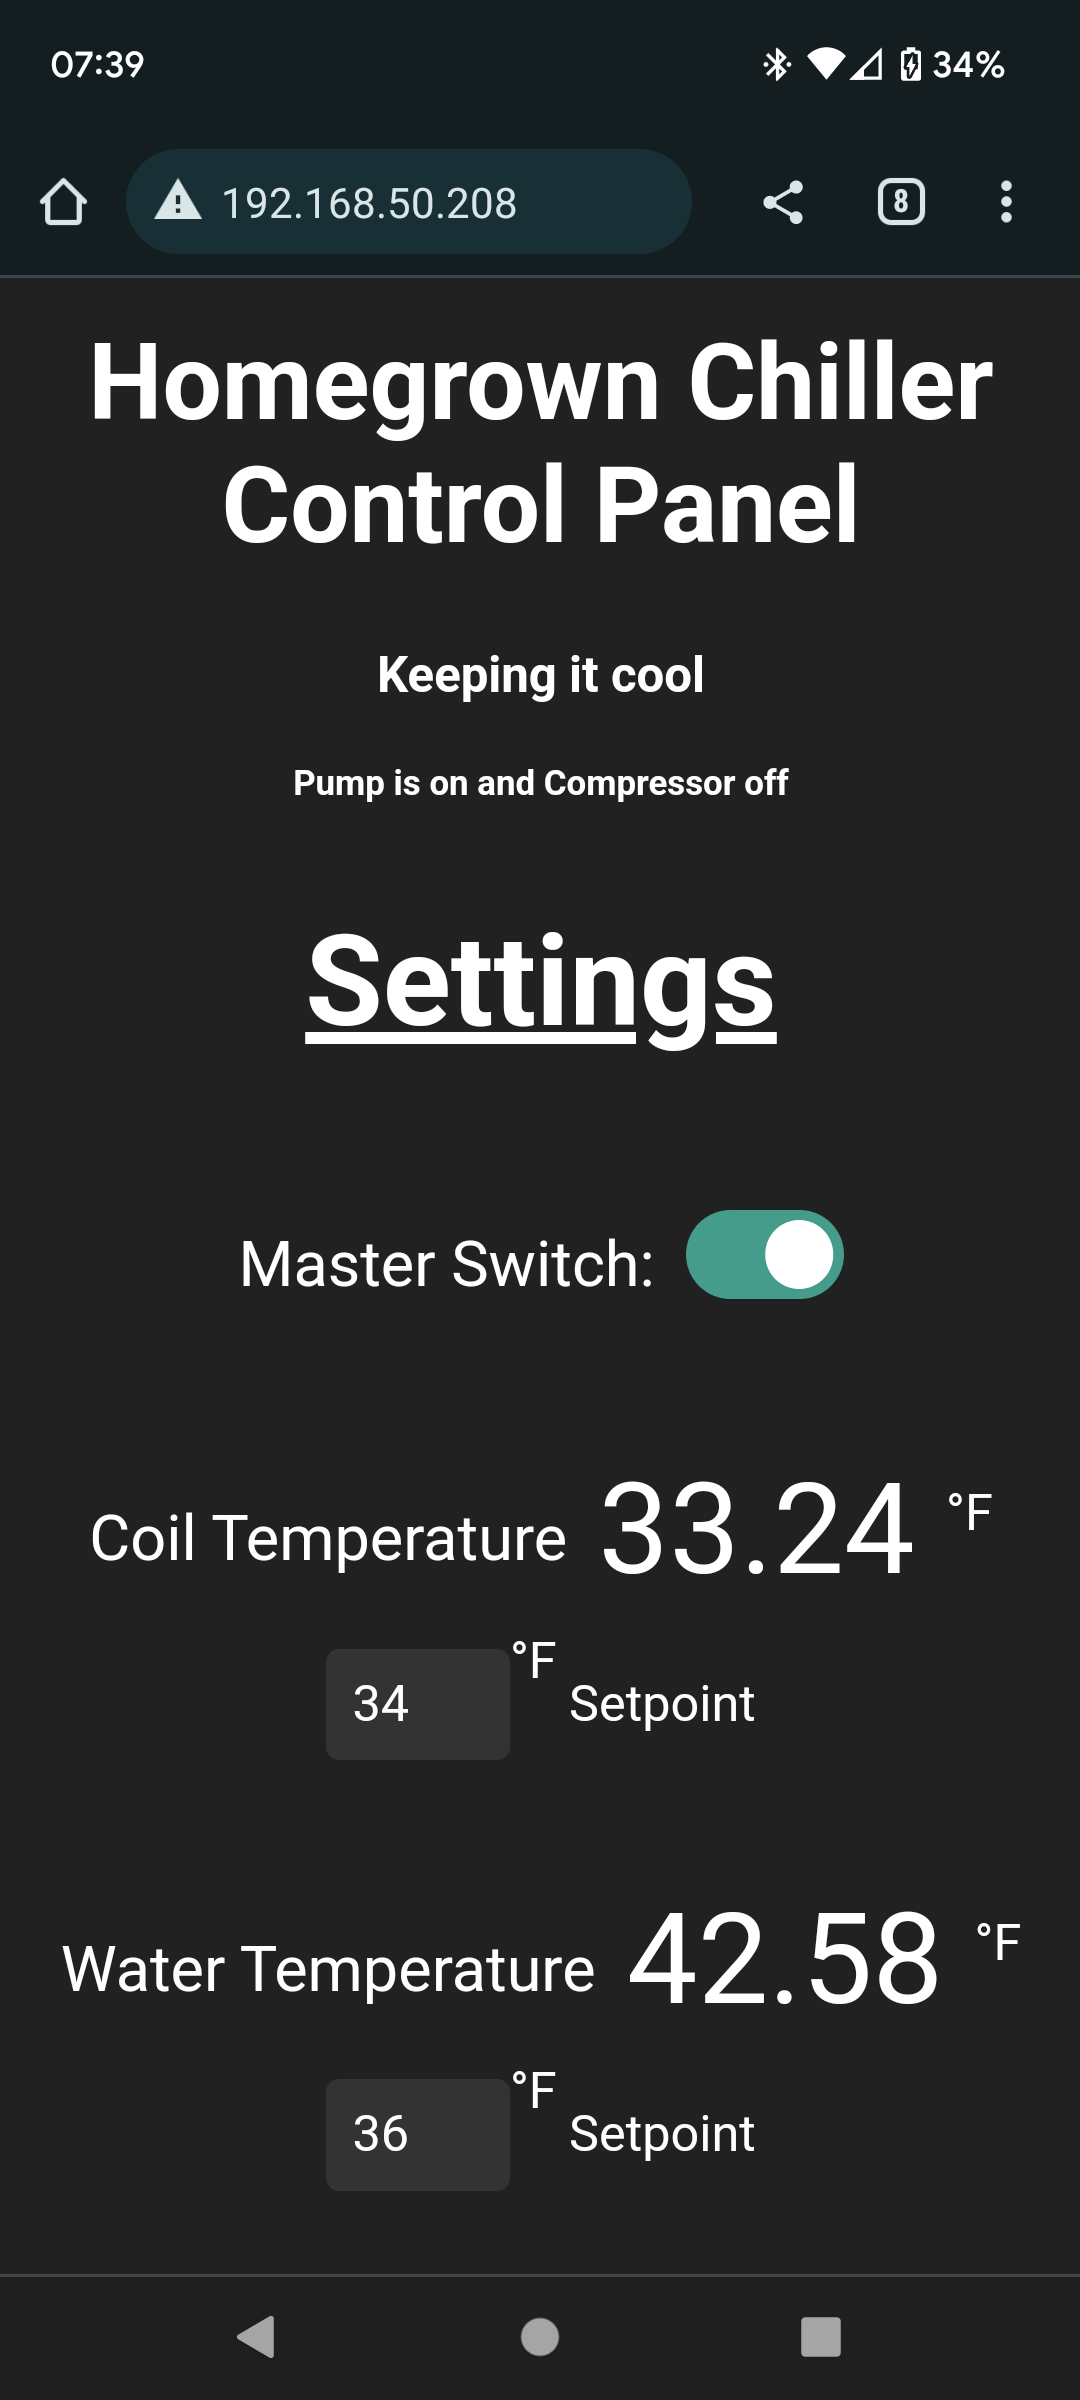
After adding in the hops, I added back the 15psi to the fermentor and will let rest for 3 days and than onto cold crashing it. After 3 days of dry hoping, I ended up placing in my fermentation chamber and cranked it down to 42 degrees. After about a day, I moved it to a keg via a pressure transfer and than performed a rock and roll carbonation to have this beer ready to drink Friday night, which I did.


Over tasty beer for such a simple bill, I like the hops that where chosen and got to figure out what other hops this will go good with.
Will perform a review of the beer in a different post. I enjoyed to brew and transfer all under pressure and can wait to try a different style, like my Oktoberfest. More to Come.