So like many of you, I started off with the good old plastic bucket. It worked, never had an issue, but over my year of brewing it was time to replace the plastic bucket. I have heard stories about scratches in the plastic and over time picking up unwanted germs and a lot of the reading I came across talk about replacing the plastic buckets every year. So with that said I was coming up on a year, maybe 9-10 months and was looking at all the various options out there that were not plastic.
With that said there are a lot of options out there and I really needed to figure out what I wanted to be able to do. At this time of looking at these options, I had just started to jump into all grain brewing so I looked at what do I want to brew and what do I need to brew it. My biggest thing was I wanted to purchase an Anvil Foundry for xmas and wouldn’t have the extra funds to spend a lot on fermentors this year. So I looked at all things stainless and came across the stainless bucket fermentor, which also had a cooling kit. Great I can finally do the lagers I have so wanted to do but had no means of keeping the temp accurate on the fermentors and this was the way to do it all for under $300 dollars.
So for me it boiled down to two fermentors, the Anvil Bucket with cooling and Spike Brewing Flex+ Fermenter. What it boiled down to was I really wanted to do lagers so the Anvil Bucket was it for me. So your aware the downside to the Anvil Bucket is that you can’t pressure ferment, which is why I really sat down and figured what do I want to brew and what do I need. Pressure fermentation is interested to me and will get there but not right now.
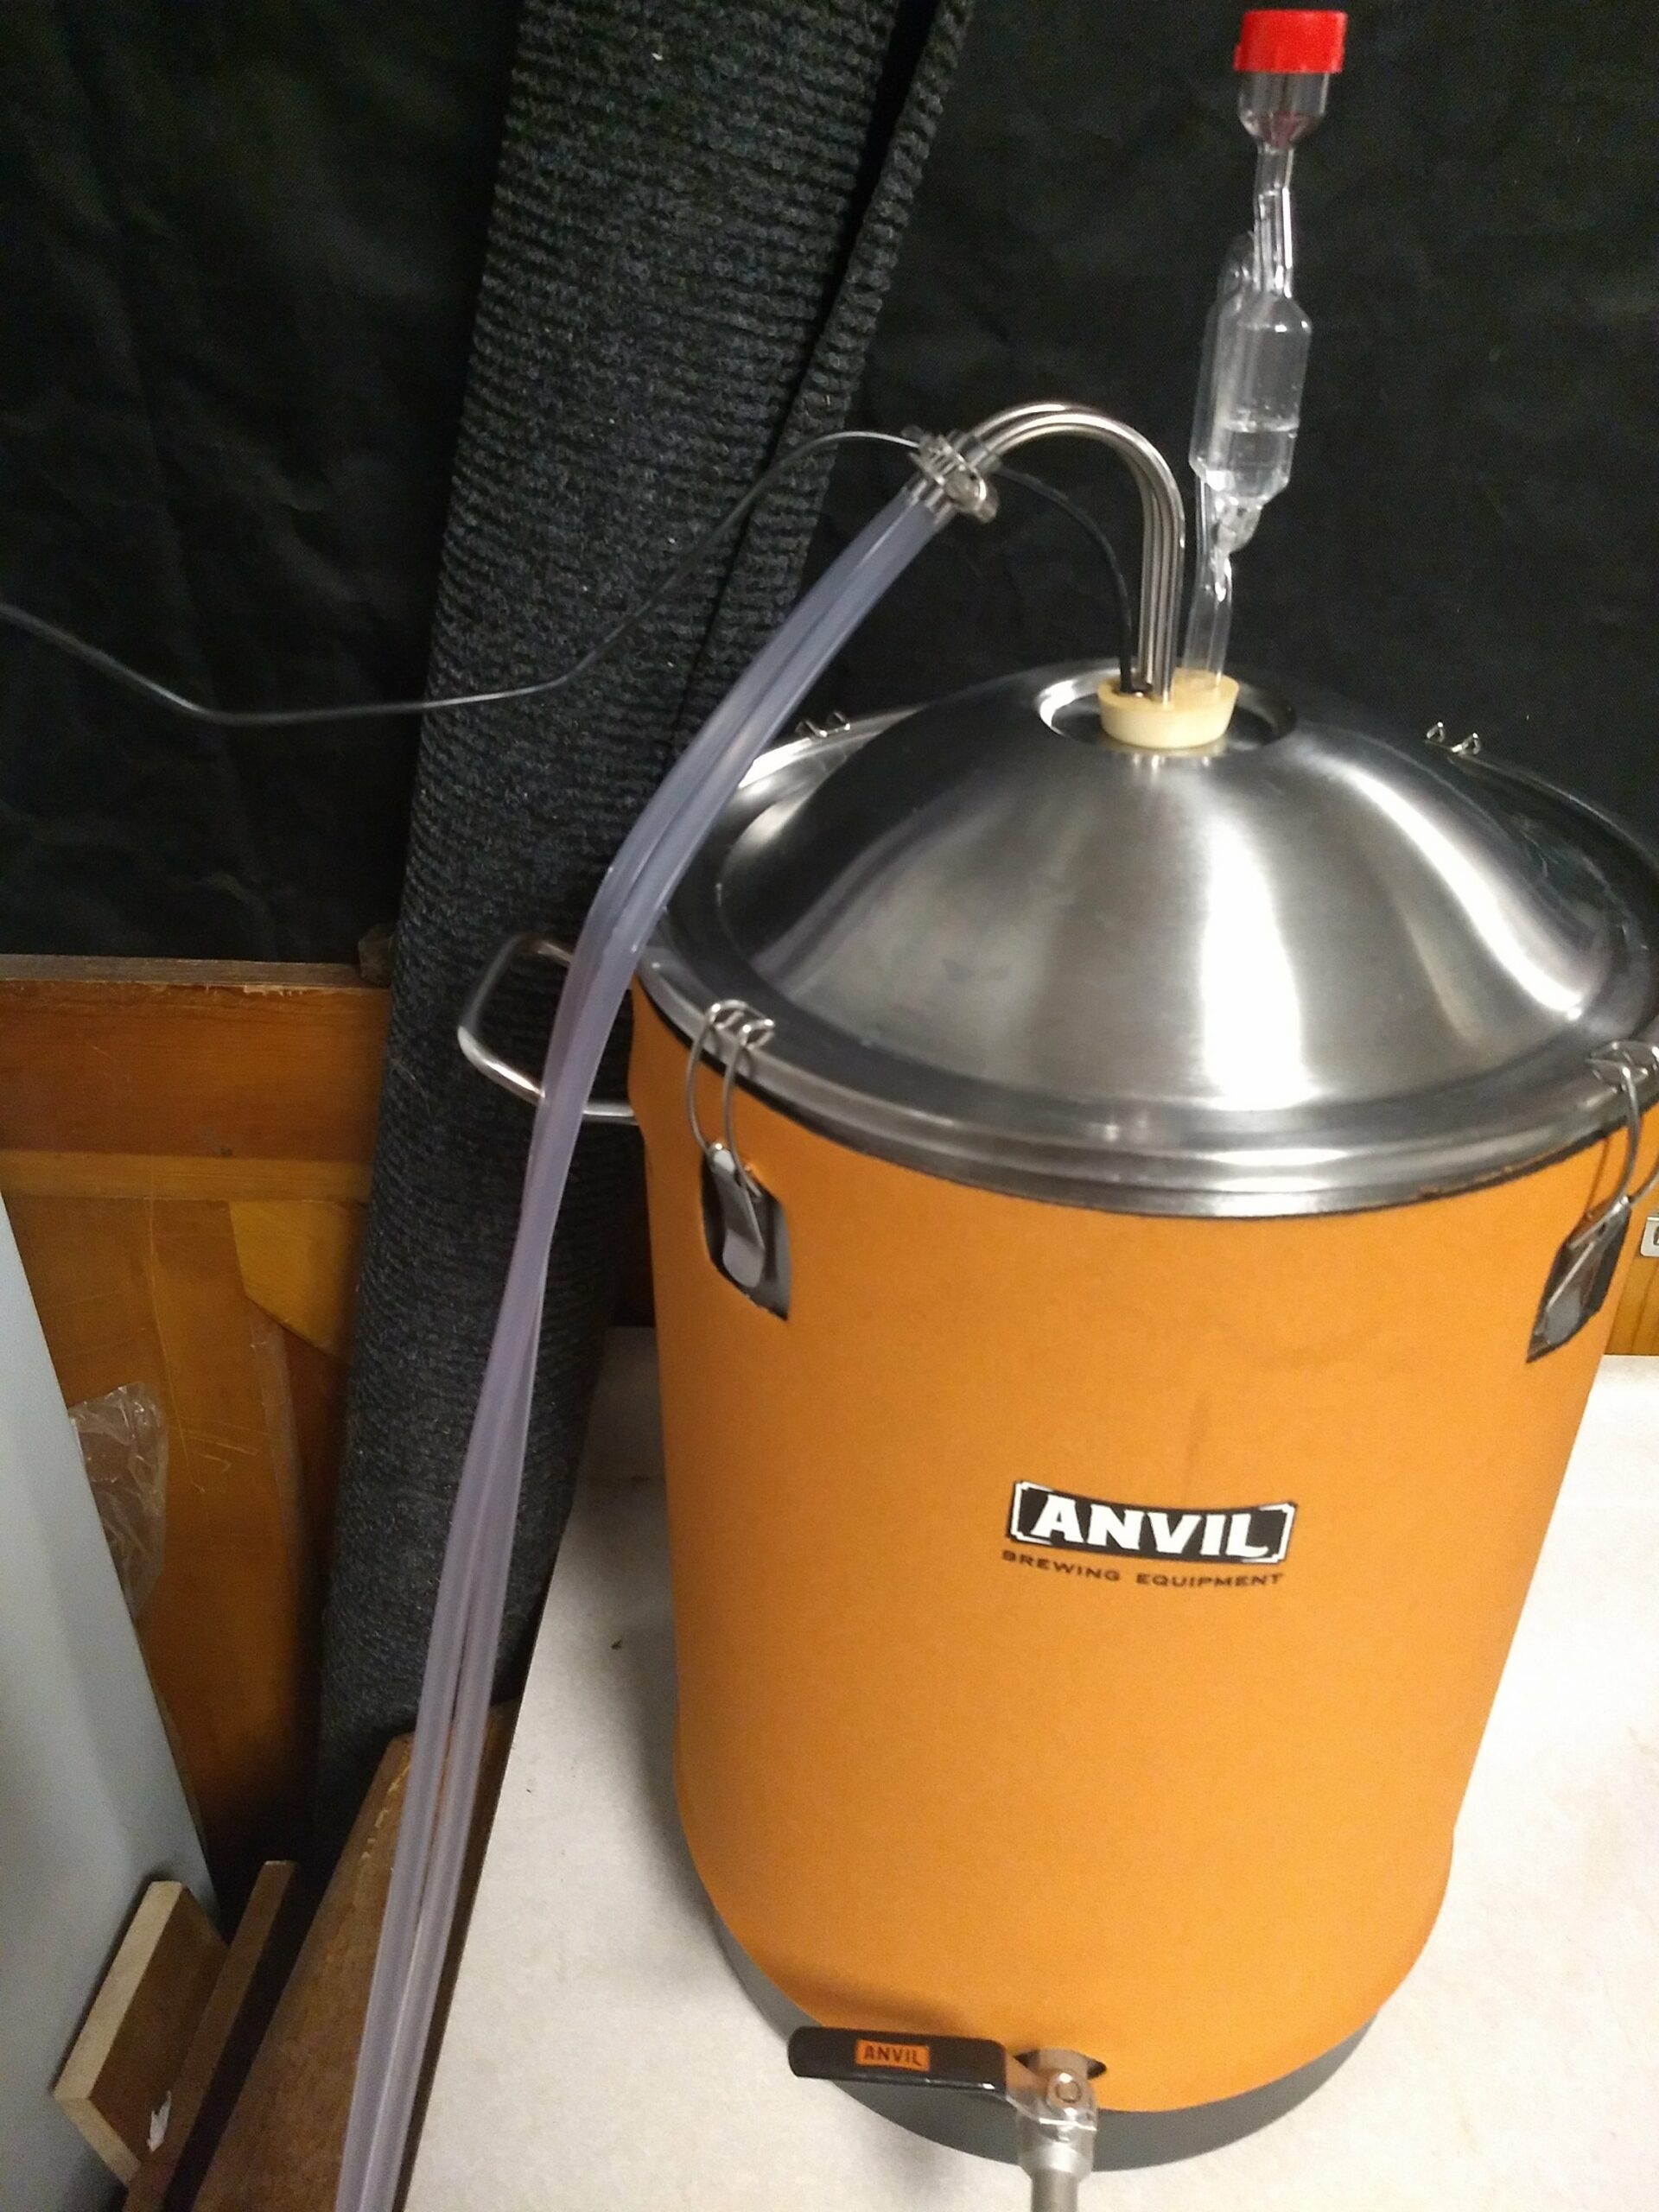
So I have about 15 brews now with my Anvil fermentors and so glad I purchased these. Very easy to clean, as the valve comes out completely and everything else is easy to access. They have held up great and look the same as they did when I purchased them ( BTW I have two buckets, and one cooling kit). One little quark that I have come access with them is the seal on the top. At first I was use to pushing hard on the fermentor lids because they were buckets, I did the same with the fermentor to make sure the seal is good and one batch after a few days had no activity in the air lock so I popped the lid to find high kräusen so I know it was fermenting and found the silicon seal slide off a bit. Once I realized that now I place the lid on top (of course after sanitizing it) and clip all 4 latches, install air lock, and lock them down two at a time, the opposite ones. I get to see the activity in the airlock and if it shows a little positive for a minute I know the seal is good. I have done that about 10 times now and works everytime.
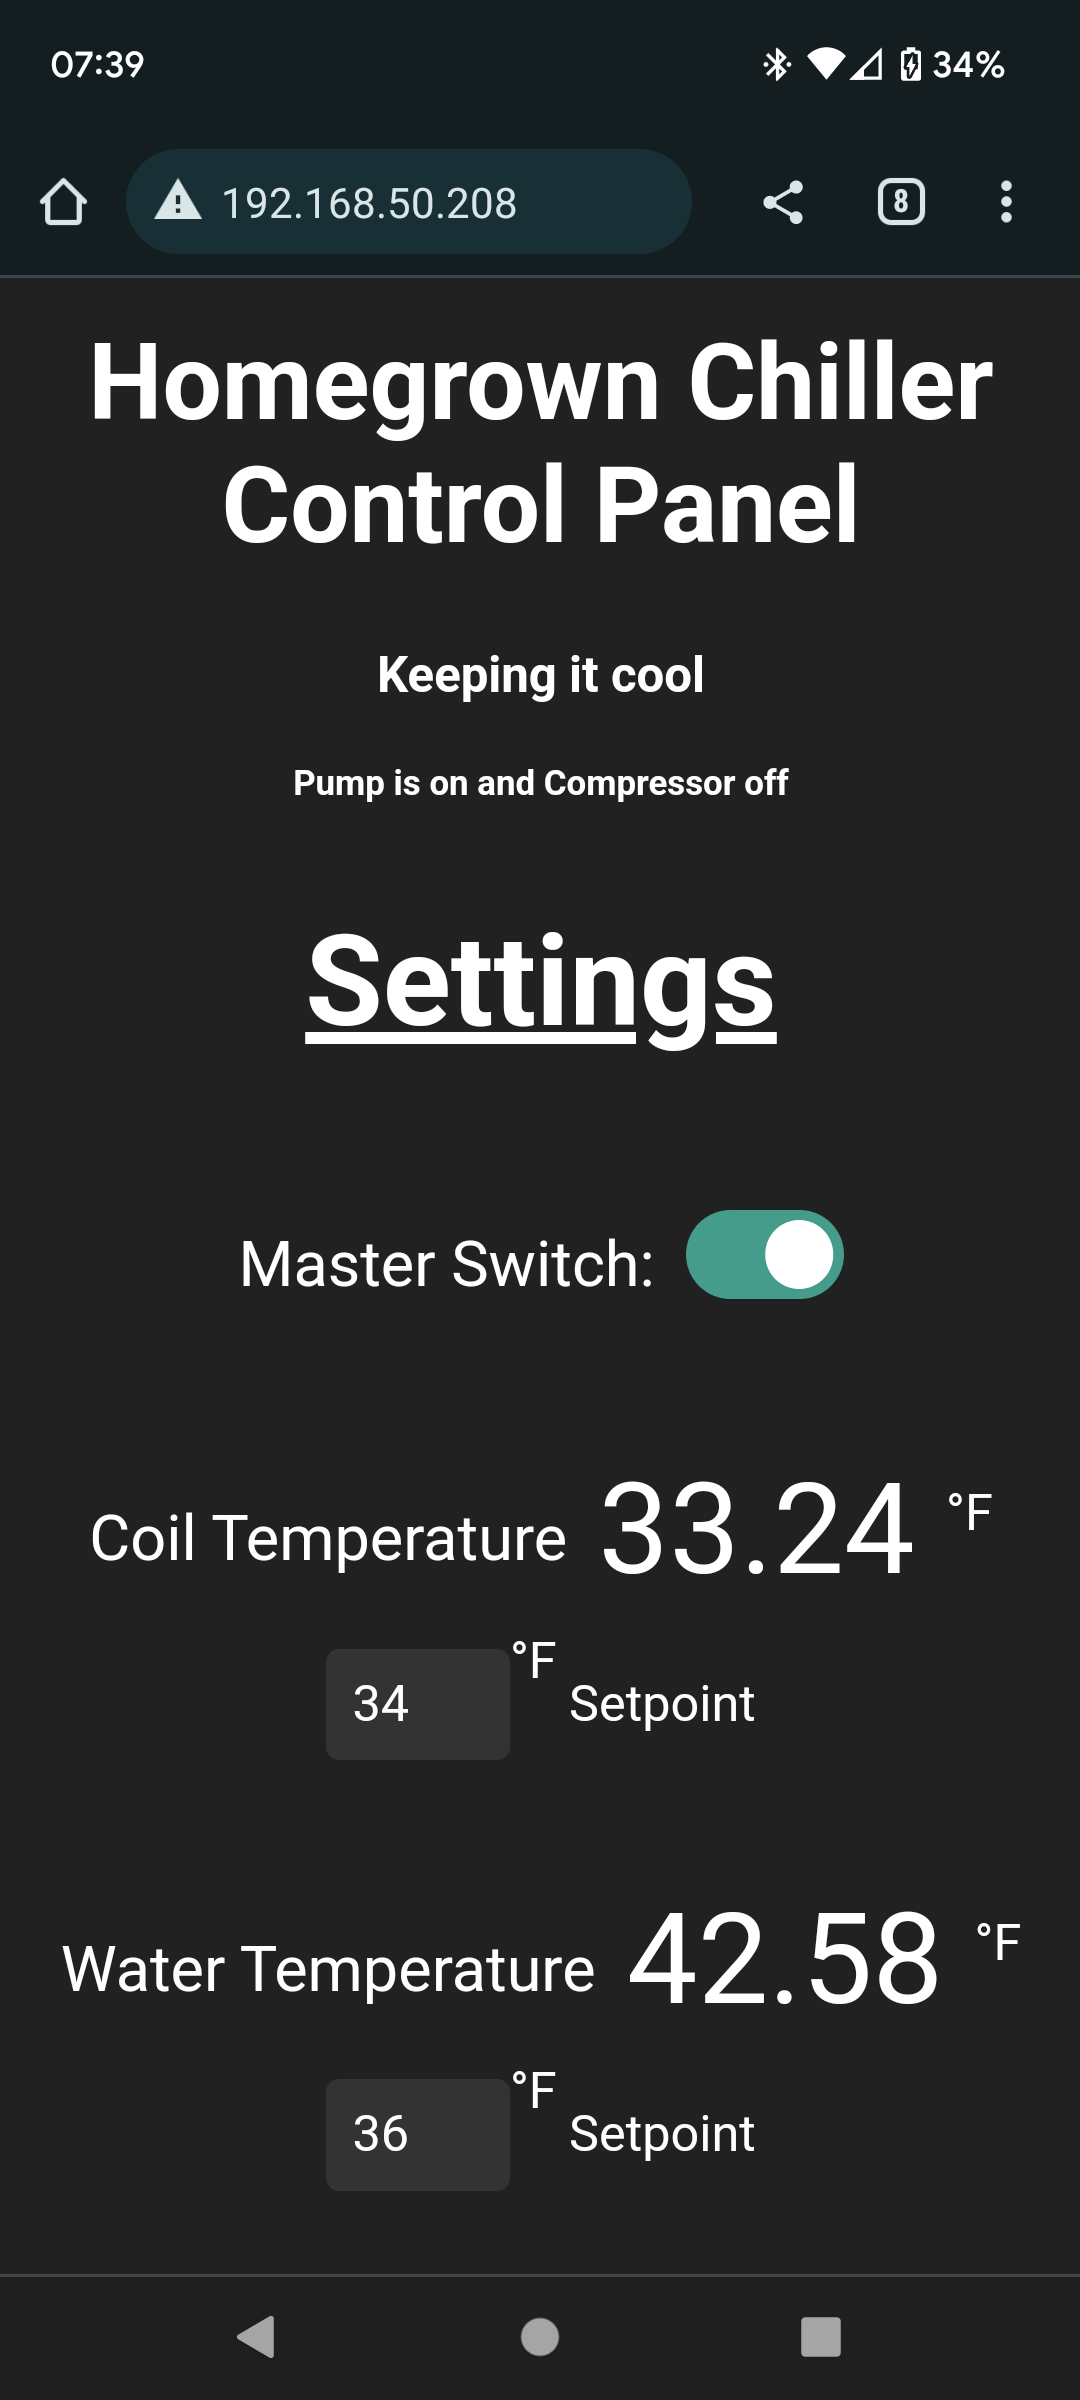
The cooling kit was pretty cool, no pun intended, and I had a nice fridge/freezer setup. I installed a bucket in my fridge and placed the pump in the bucket of antifreeze which is piped through my fridge and easily hooked up to a fermentor. When I go to cold crash it, I put a bunch of cold packs from all the liquid yeast I have received into the bucket of antifreeze to help drop the temp of the beer for cold crashing. Now I have a fermenting chamber so I just stick that into that if i need to cold crash it. One addition I would like to add it quick connects for the hoses and the cooling coil but that will come eventually. I have seen videos of people using coolers with ice water which should work as well but just didn’t go that route.

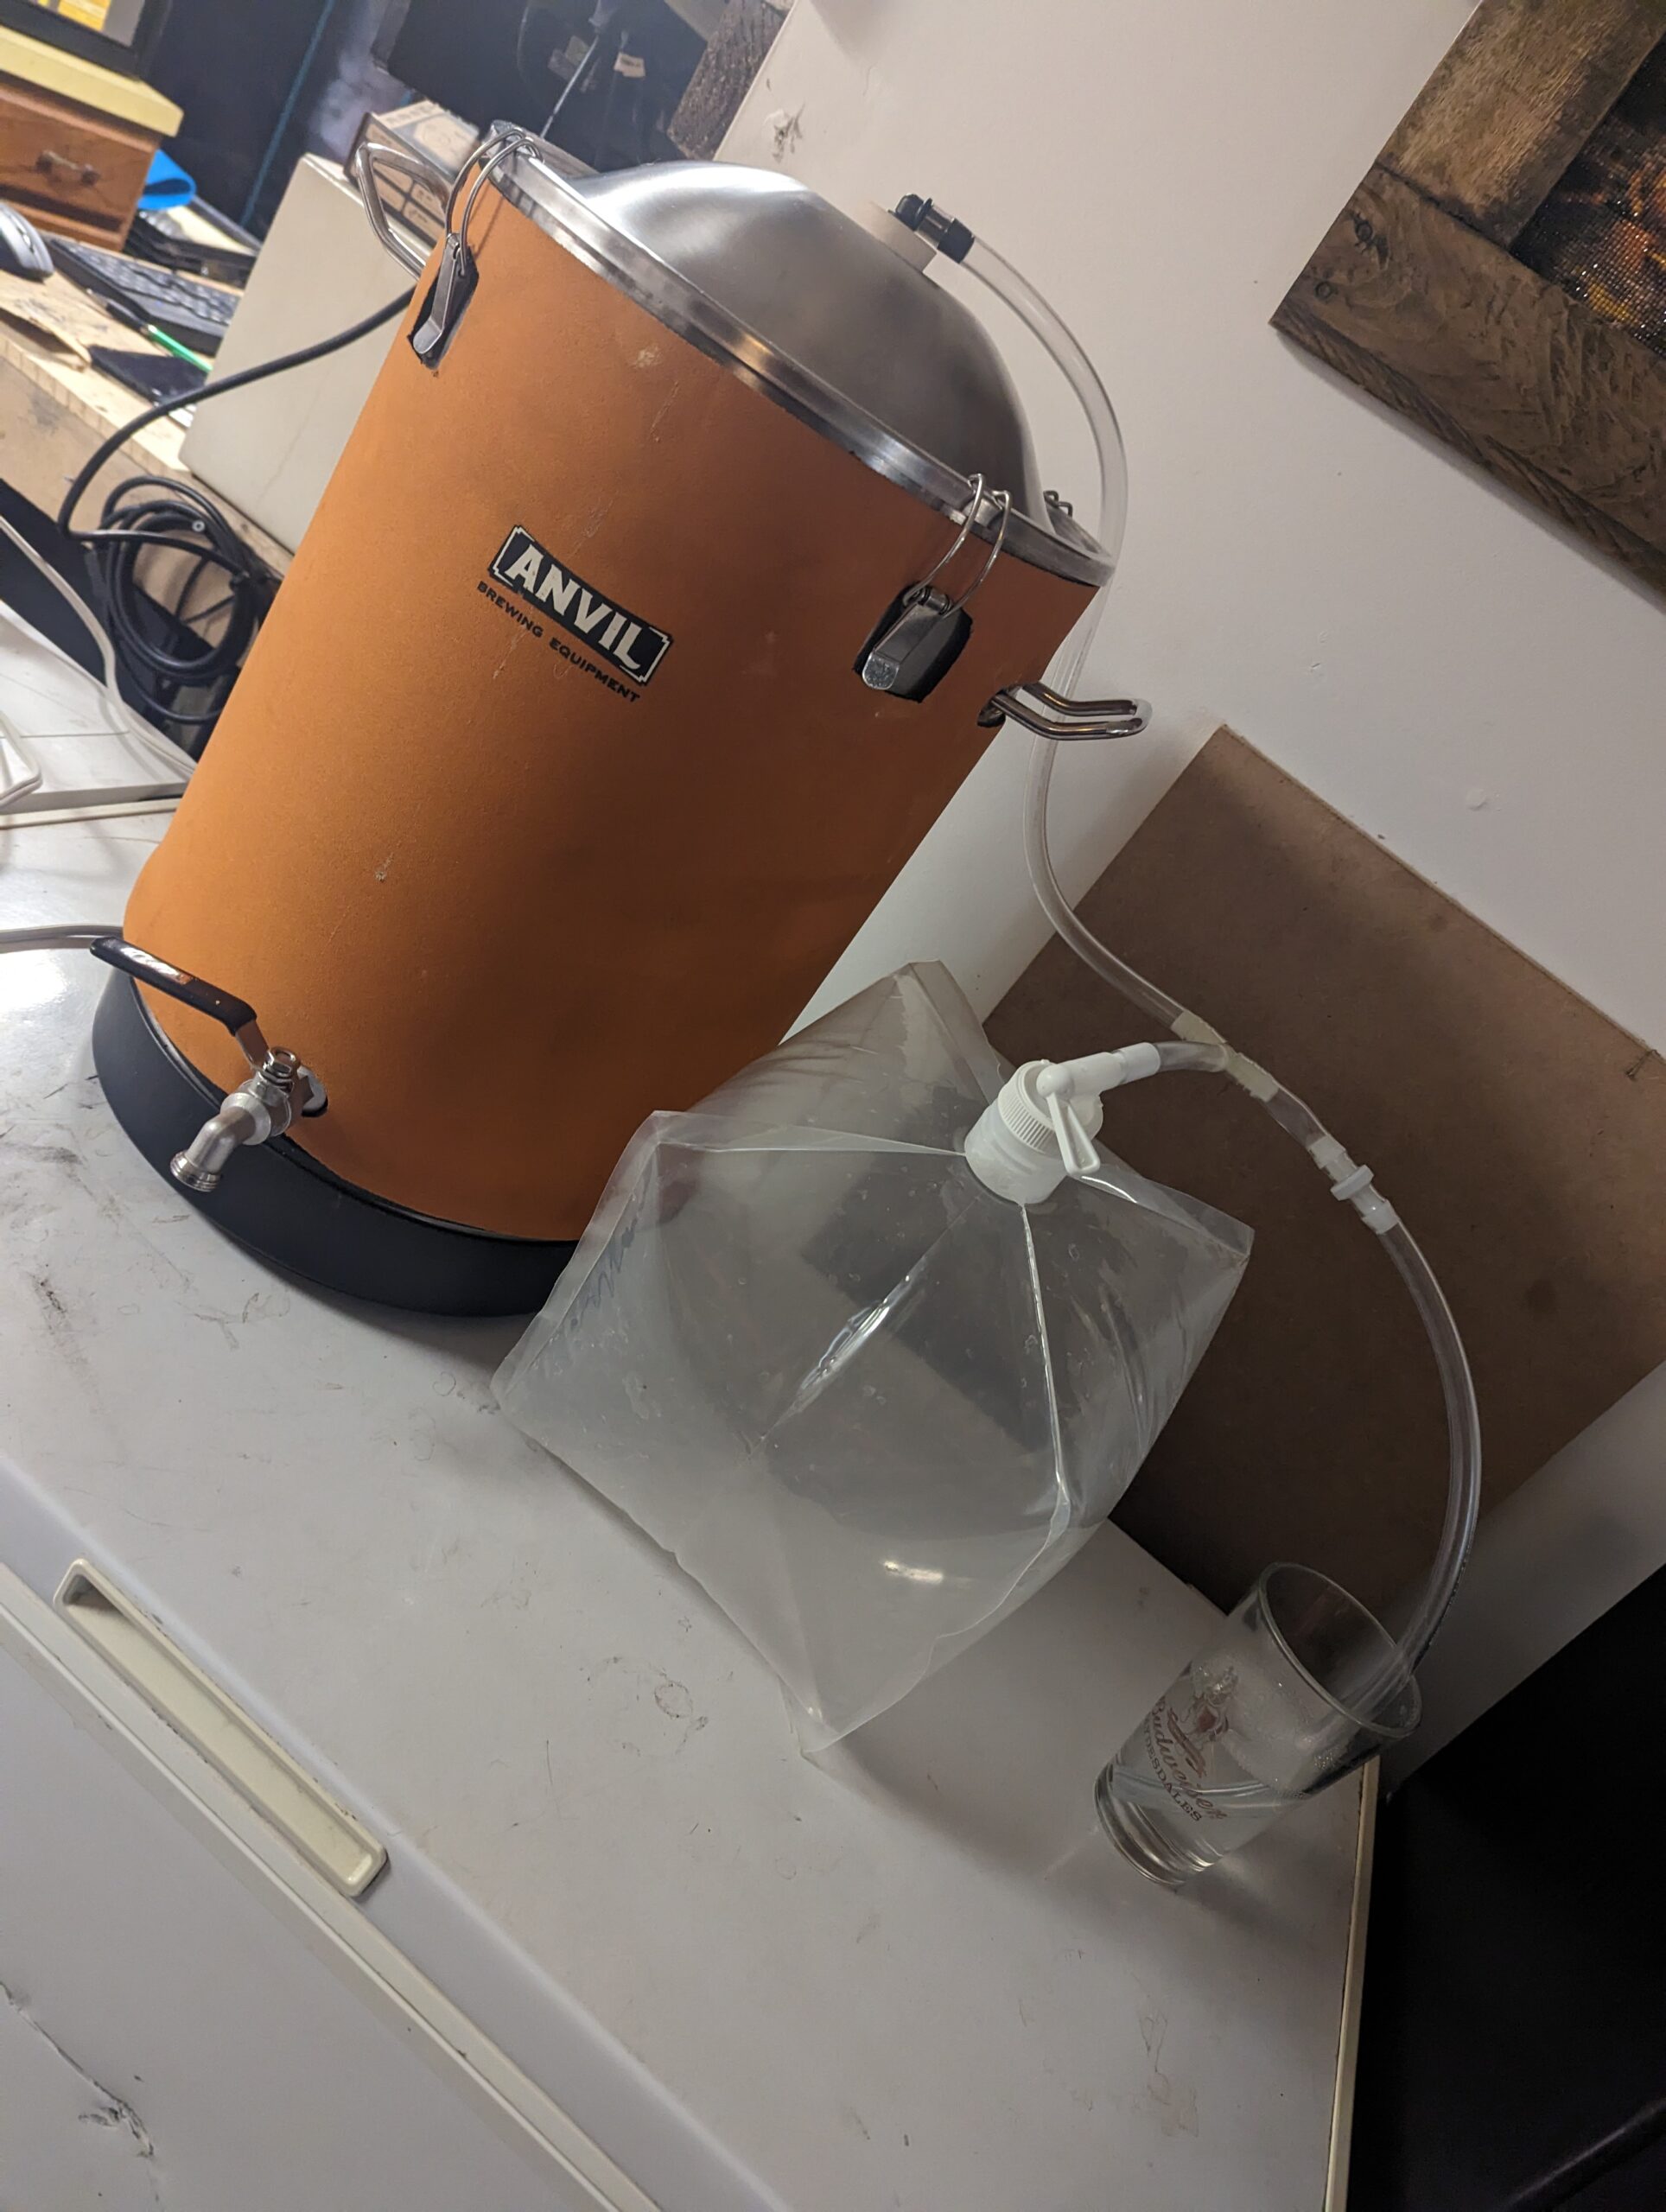
I had mentioned pressure fermentation earlier, and this bucket CAN NOT perform any time of pressure fermentation. Now with that said I have done some transferring via 1-2 PSI and it my only way to transfer but be very careful as you can blow out seals and or the bucket itself if you put to much pressure to it.

Overall I would recommend these over plastic buckets any day and well worth the money. The cooling kit works good if you are limited on space and have a decent fridge space and or an empty cooler.


