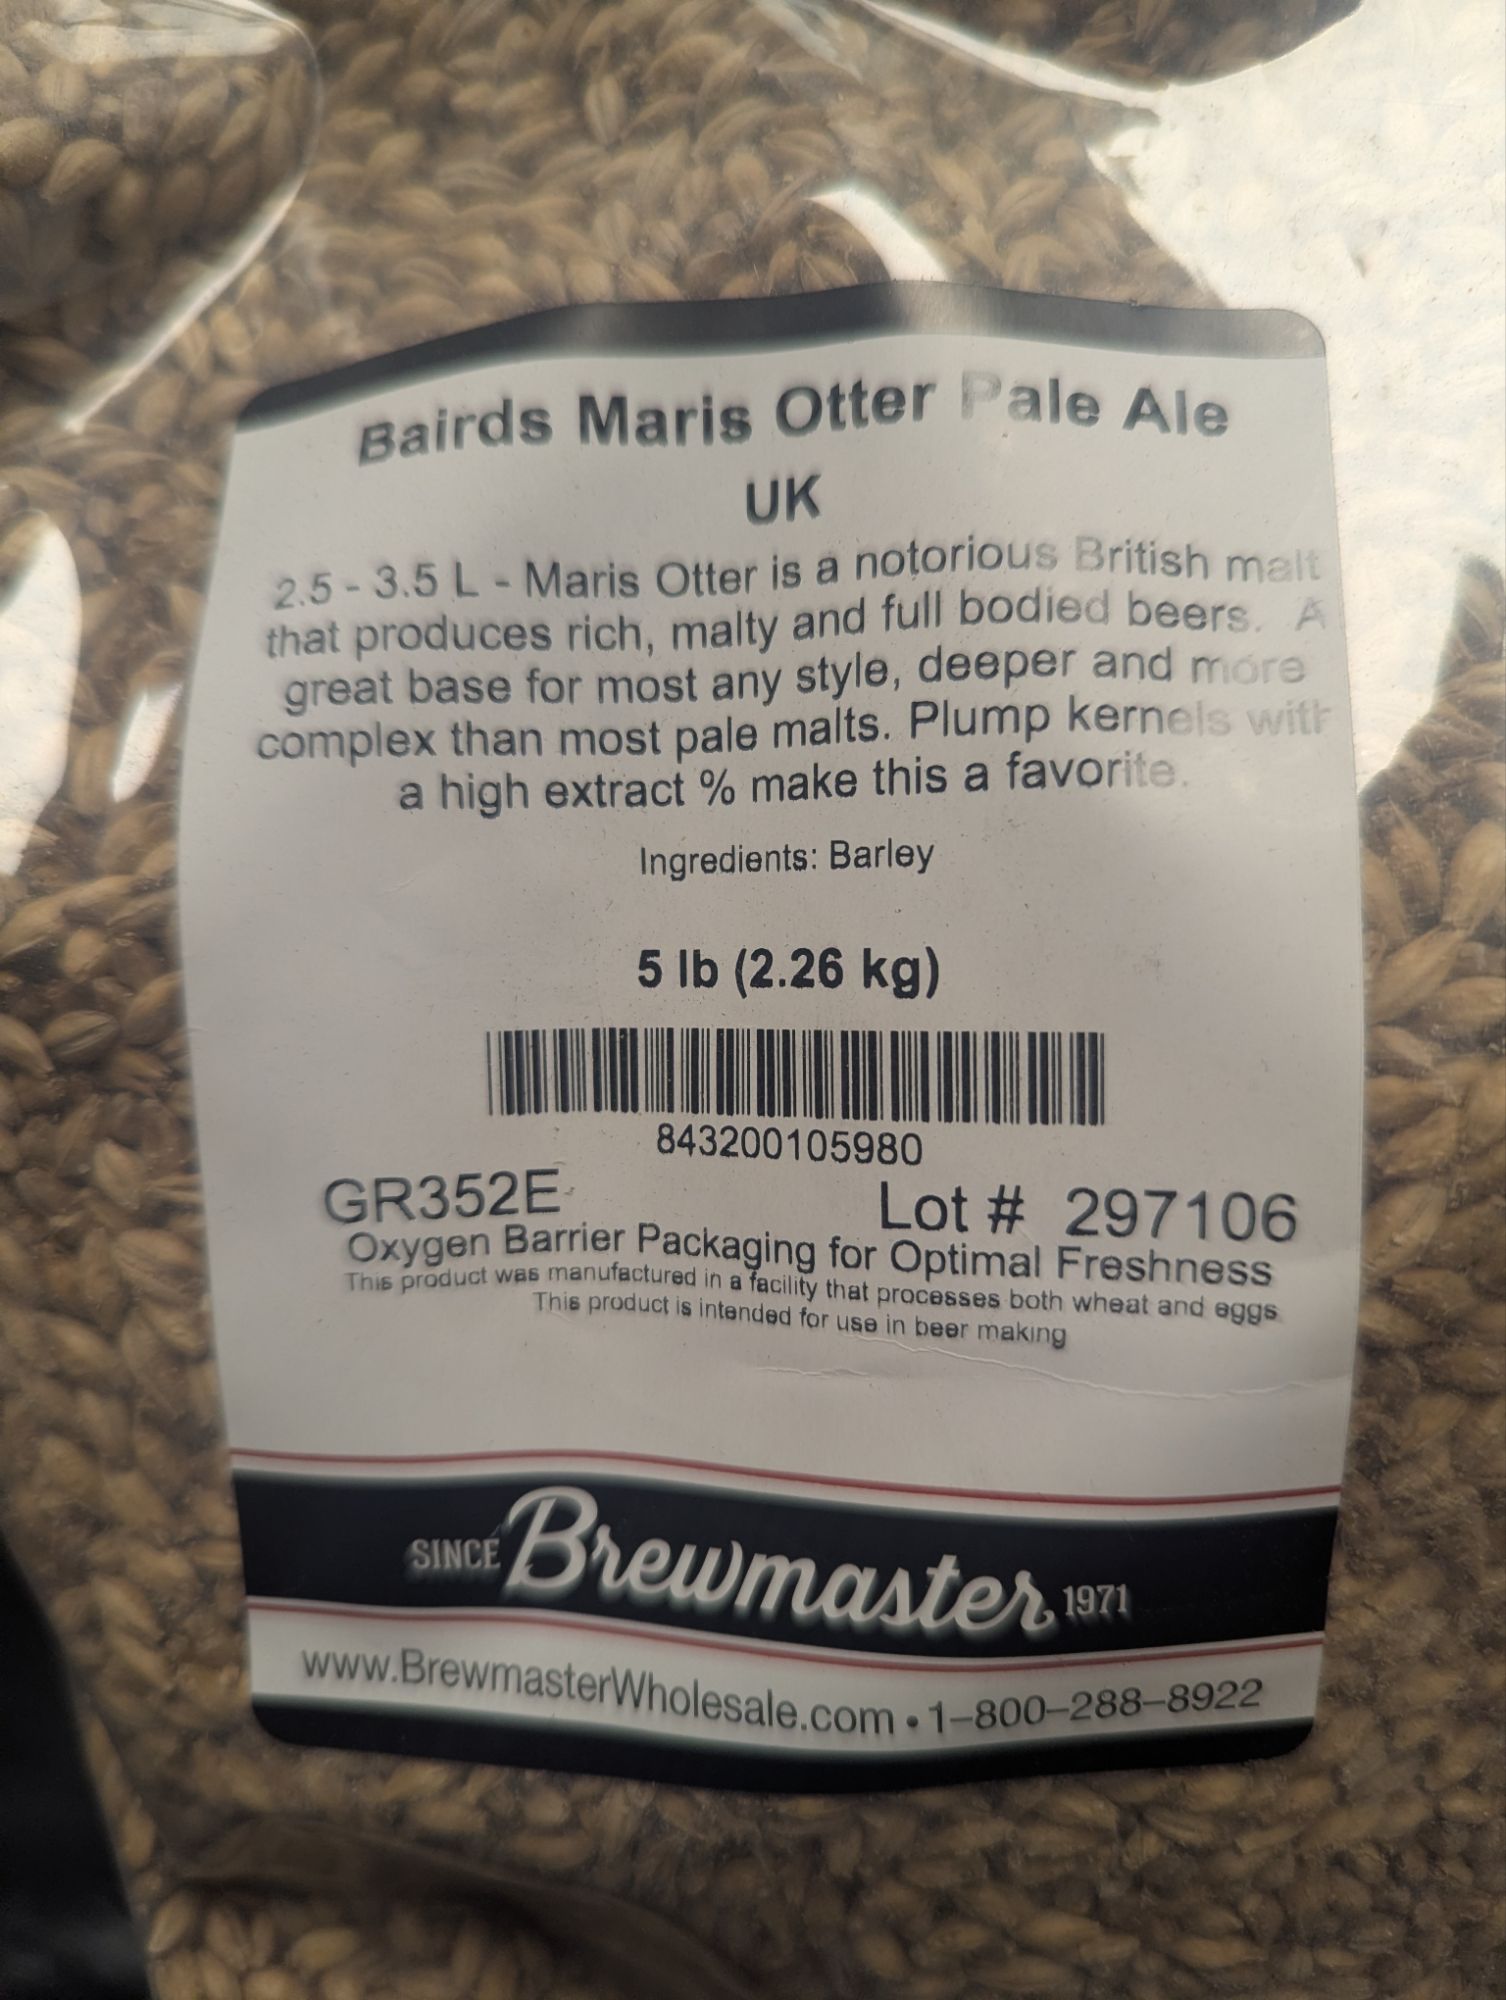
So as most people know I’m a frugal person. With that said when I brew a batch of beer it can cost be from $25-$50+ per 5 gallon batch. Looking at the ingredients that go into making beer and keeping my cost down, I looked at yeast being the best time/money balance. What I mean by this is I’m not spending my entire day to save a buck. The process seemed easy after reading a few articles on the subject. So I decided lets give it a try.
After deciding to attempt to freeze yeast and read up as much as I could it was time to get a few items. Luckily I have a flask and stir plate so didn’t need to get those. The one item I did have to purchase was some Vegetable Glycerine. Ill explain this later. What you will need to get started
- 2L flask
- Stir plate
- Vegetable Glycerine
- A few 16 OZ jars.
- Polypropylene Syringes
- 15ml Plastic Centrifuge Tubes
- A large pot that you can fit the jars into and be submerged.
- clean and sterile 1 gallon glass jug.
- fermentor ready to be transferred to bottle/keg
So you have decided to start to freeze yeast for later us. Well it took me a little bit but finally decided to jump into it. Was a little scared at first as I was thinking if I mess up, I take out 5 gallons of beer. Is it worth the $10 per batch saving? Well when you are brewing every weekend $40 a month is a big savings.
So my first yeast to freeze is Wyeast 2206. I had brewed an Oktoberfest which I use that yeast with so since I decided to start freezing that is what I had coming up. Now like everything, I researched and researched until I felt I could complete the task.
The first thing I did before transferring any beer was to get some water and the Glycerin mix all sterilized. Fill one of the jars to the line with R.O. water. I use R.O. as it has nothing else added. Fill the other jar with 1/4 cup of water and 1/4 cup of Vegetable Glycerin. Put the two jars in a pot that you can fill with water and they will be submerged. Bring to a boil and I leave the jars in the boiling water for at least 20 mins. This sterilizes the water and the Glycerin so you have no worries of adding bugs to this slurry you will be making soon.
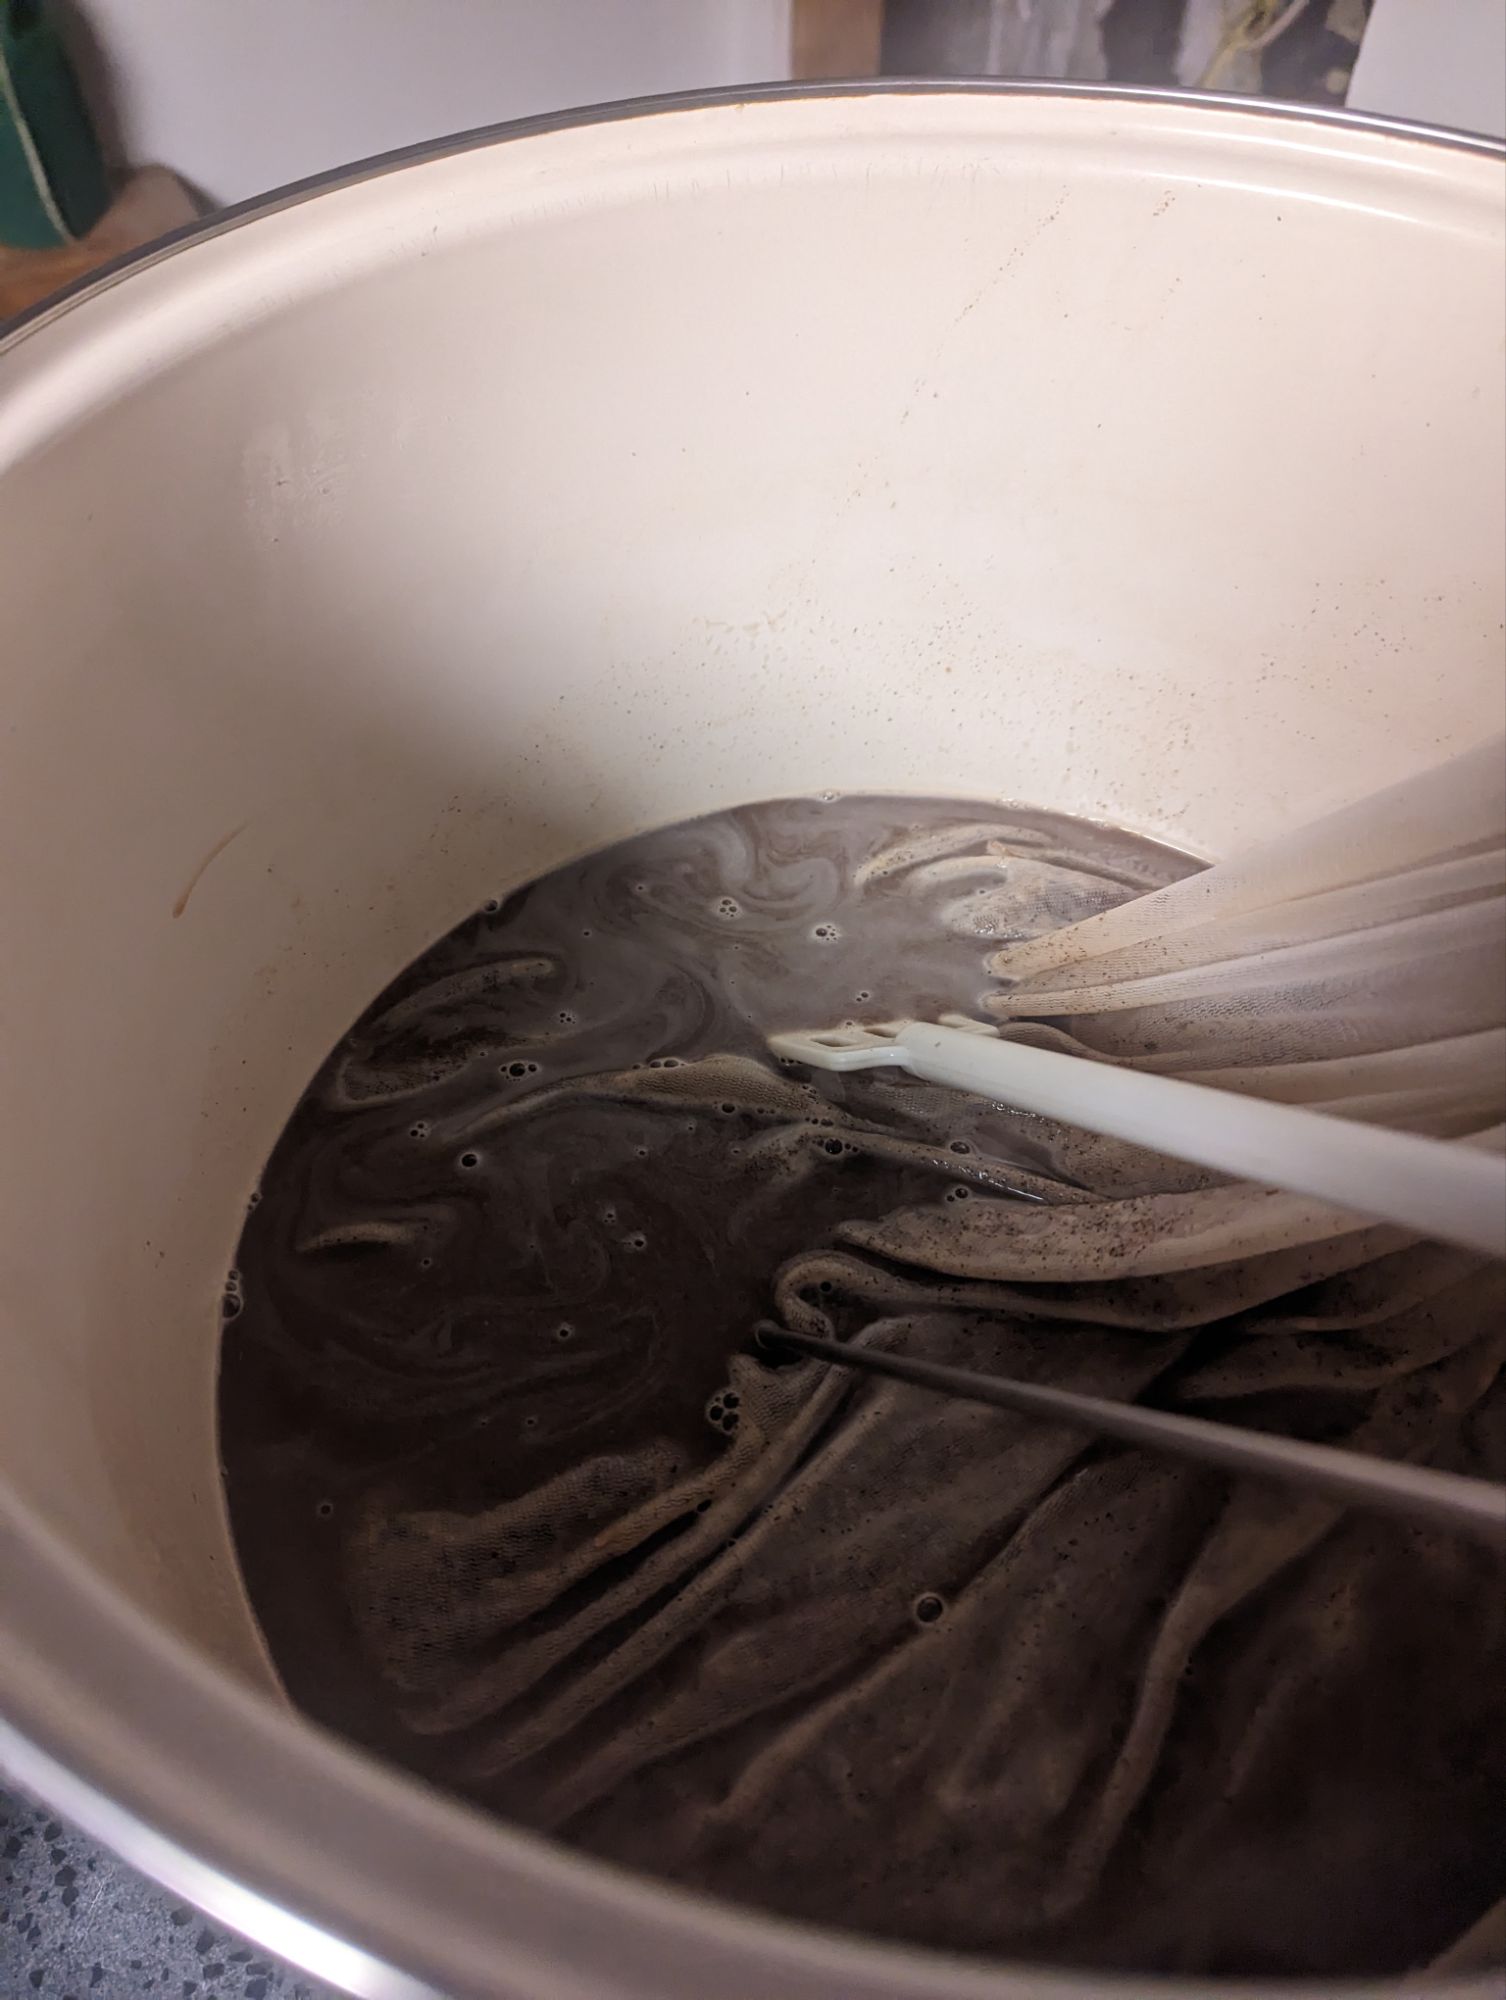
So transferred my beer as I normally would via low pressure transfer with my stainless steel brewing buckets. Taking the sterile jar filled with just water and adding it to the fermentor I just emptied put lid on jar and save for later(keep sterile or toss in sanitizer). What this does is adds some clean water to the slurry to allow up to wash the yeast a little bit. NOTE: don’t do this on a beer that you dry hopped, I know you can wash out the hops but I’m trying to get the cleanest yeast back for reuse. Swirl the fresh water and slurry around to mix it up. Pour about 1/2 gallon of slurry into the 1 gallon glass jug and place in the refrigerator for about an hour.
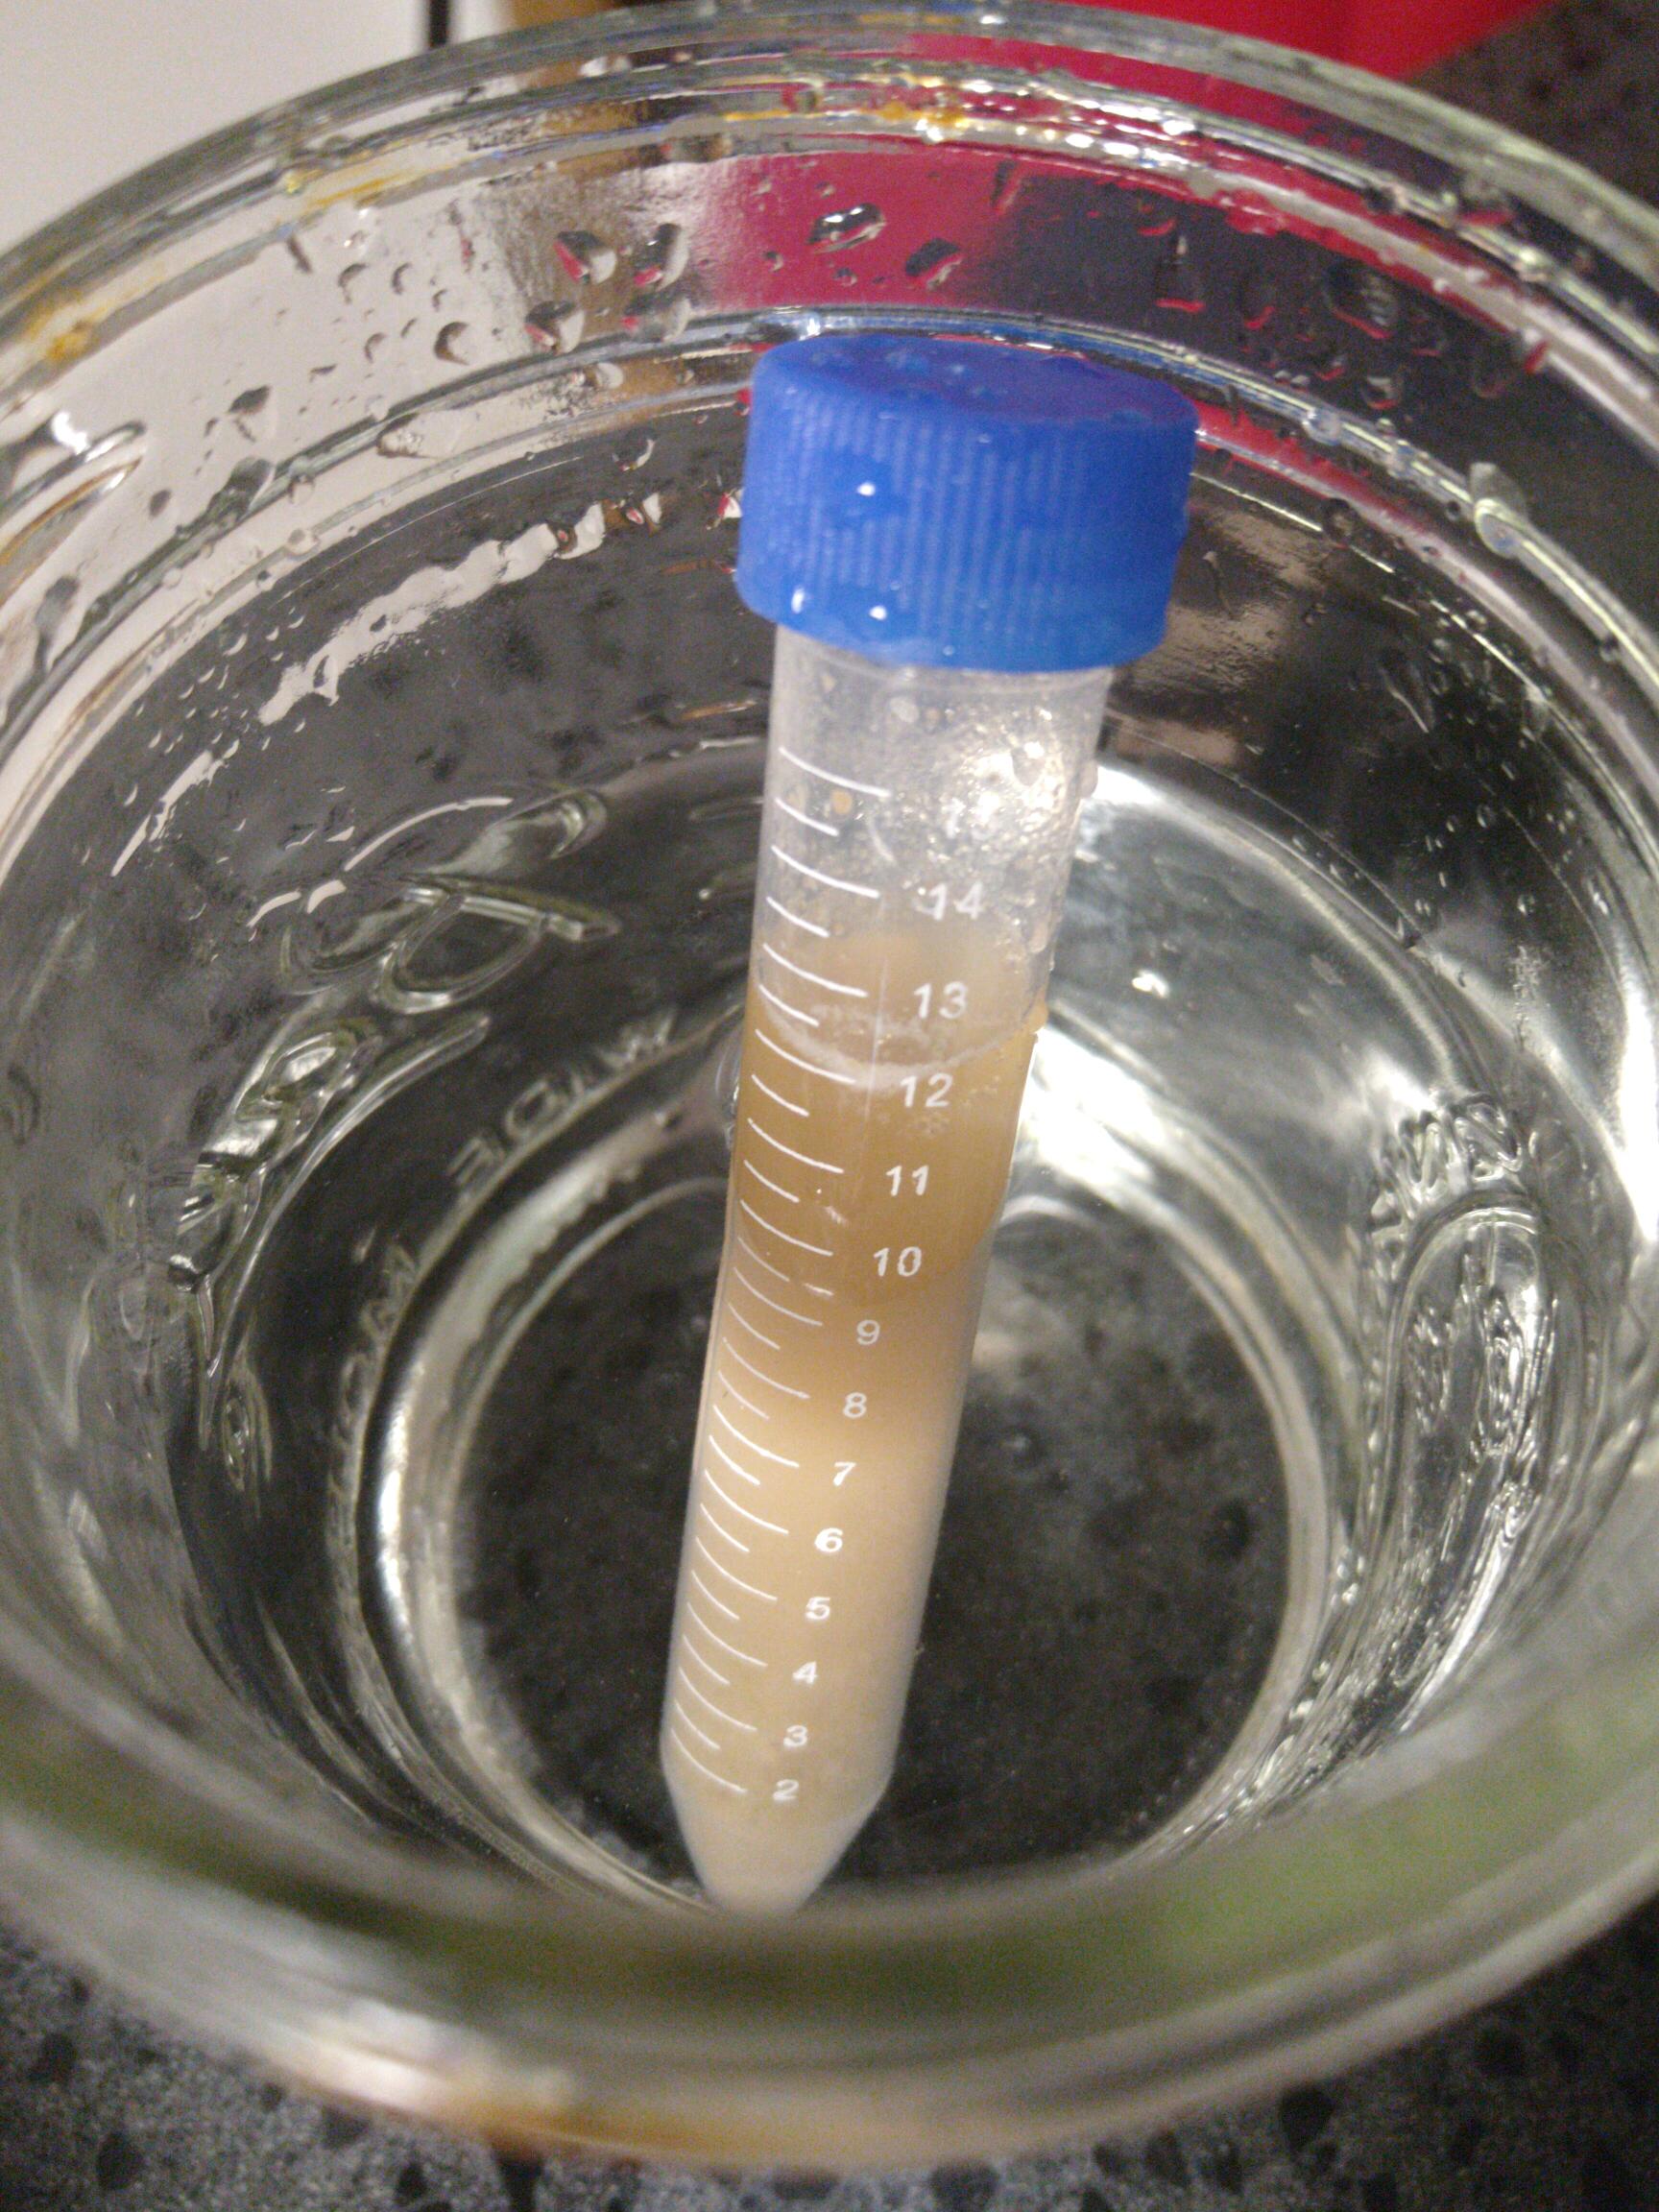
After about an hour you will see very distinct lines in the jar. The top layer will probably look a little milky and the next layer will be white to off white and below that is the material you don’t want. Now pour off the milky layer but leave about 1/8-1/4 inch of milky. Than pour the milky and white to off white layer (cleaner yeast slurry) into the empty mason jar about 1/2 way. Before I go on let me just say you can pour that cleaner slurry into another jug and add some additional sterile water and place in the refrigerator for another hour if you feel that your yeast isn’t clean enough (hop and grain material are gone) Now take your other jar that is half full of water and glycerin and pour it into the jar you added the yeast slurry to. Now you will have a mixture of 50% yeast slurry, 25% water, and 25% glycerin. Shake well and place in tubes to be frozen for later use.
Now for freezing you will want to have a small cooler with some frozen ice packs in it. Place the tubes inside this cooler to freeze for later use.
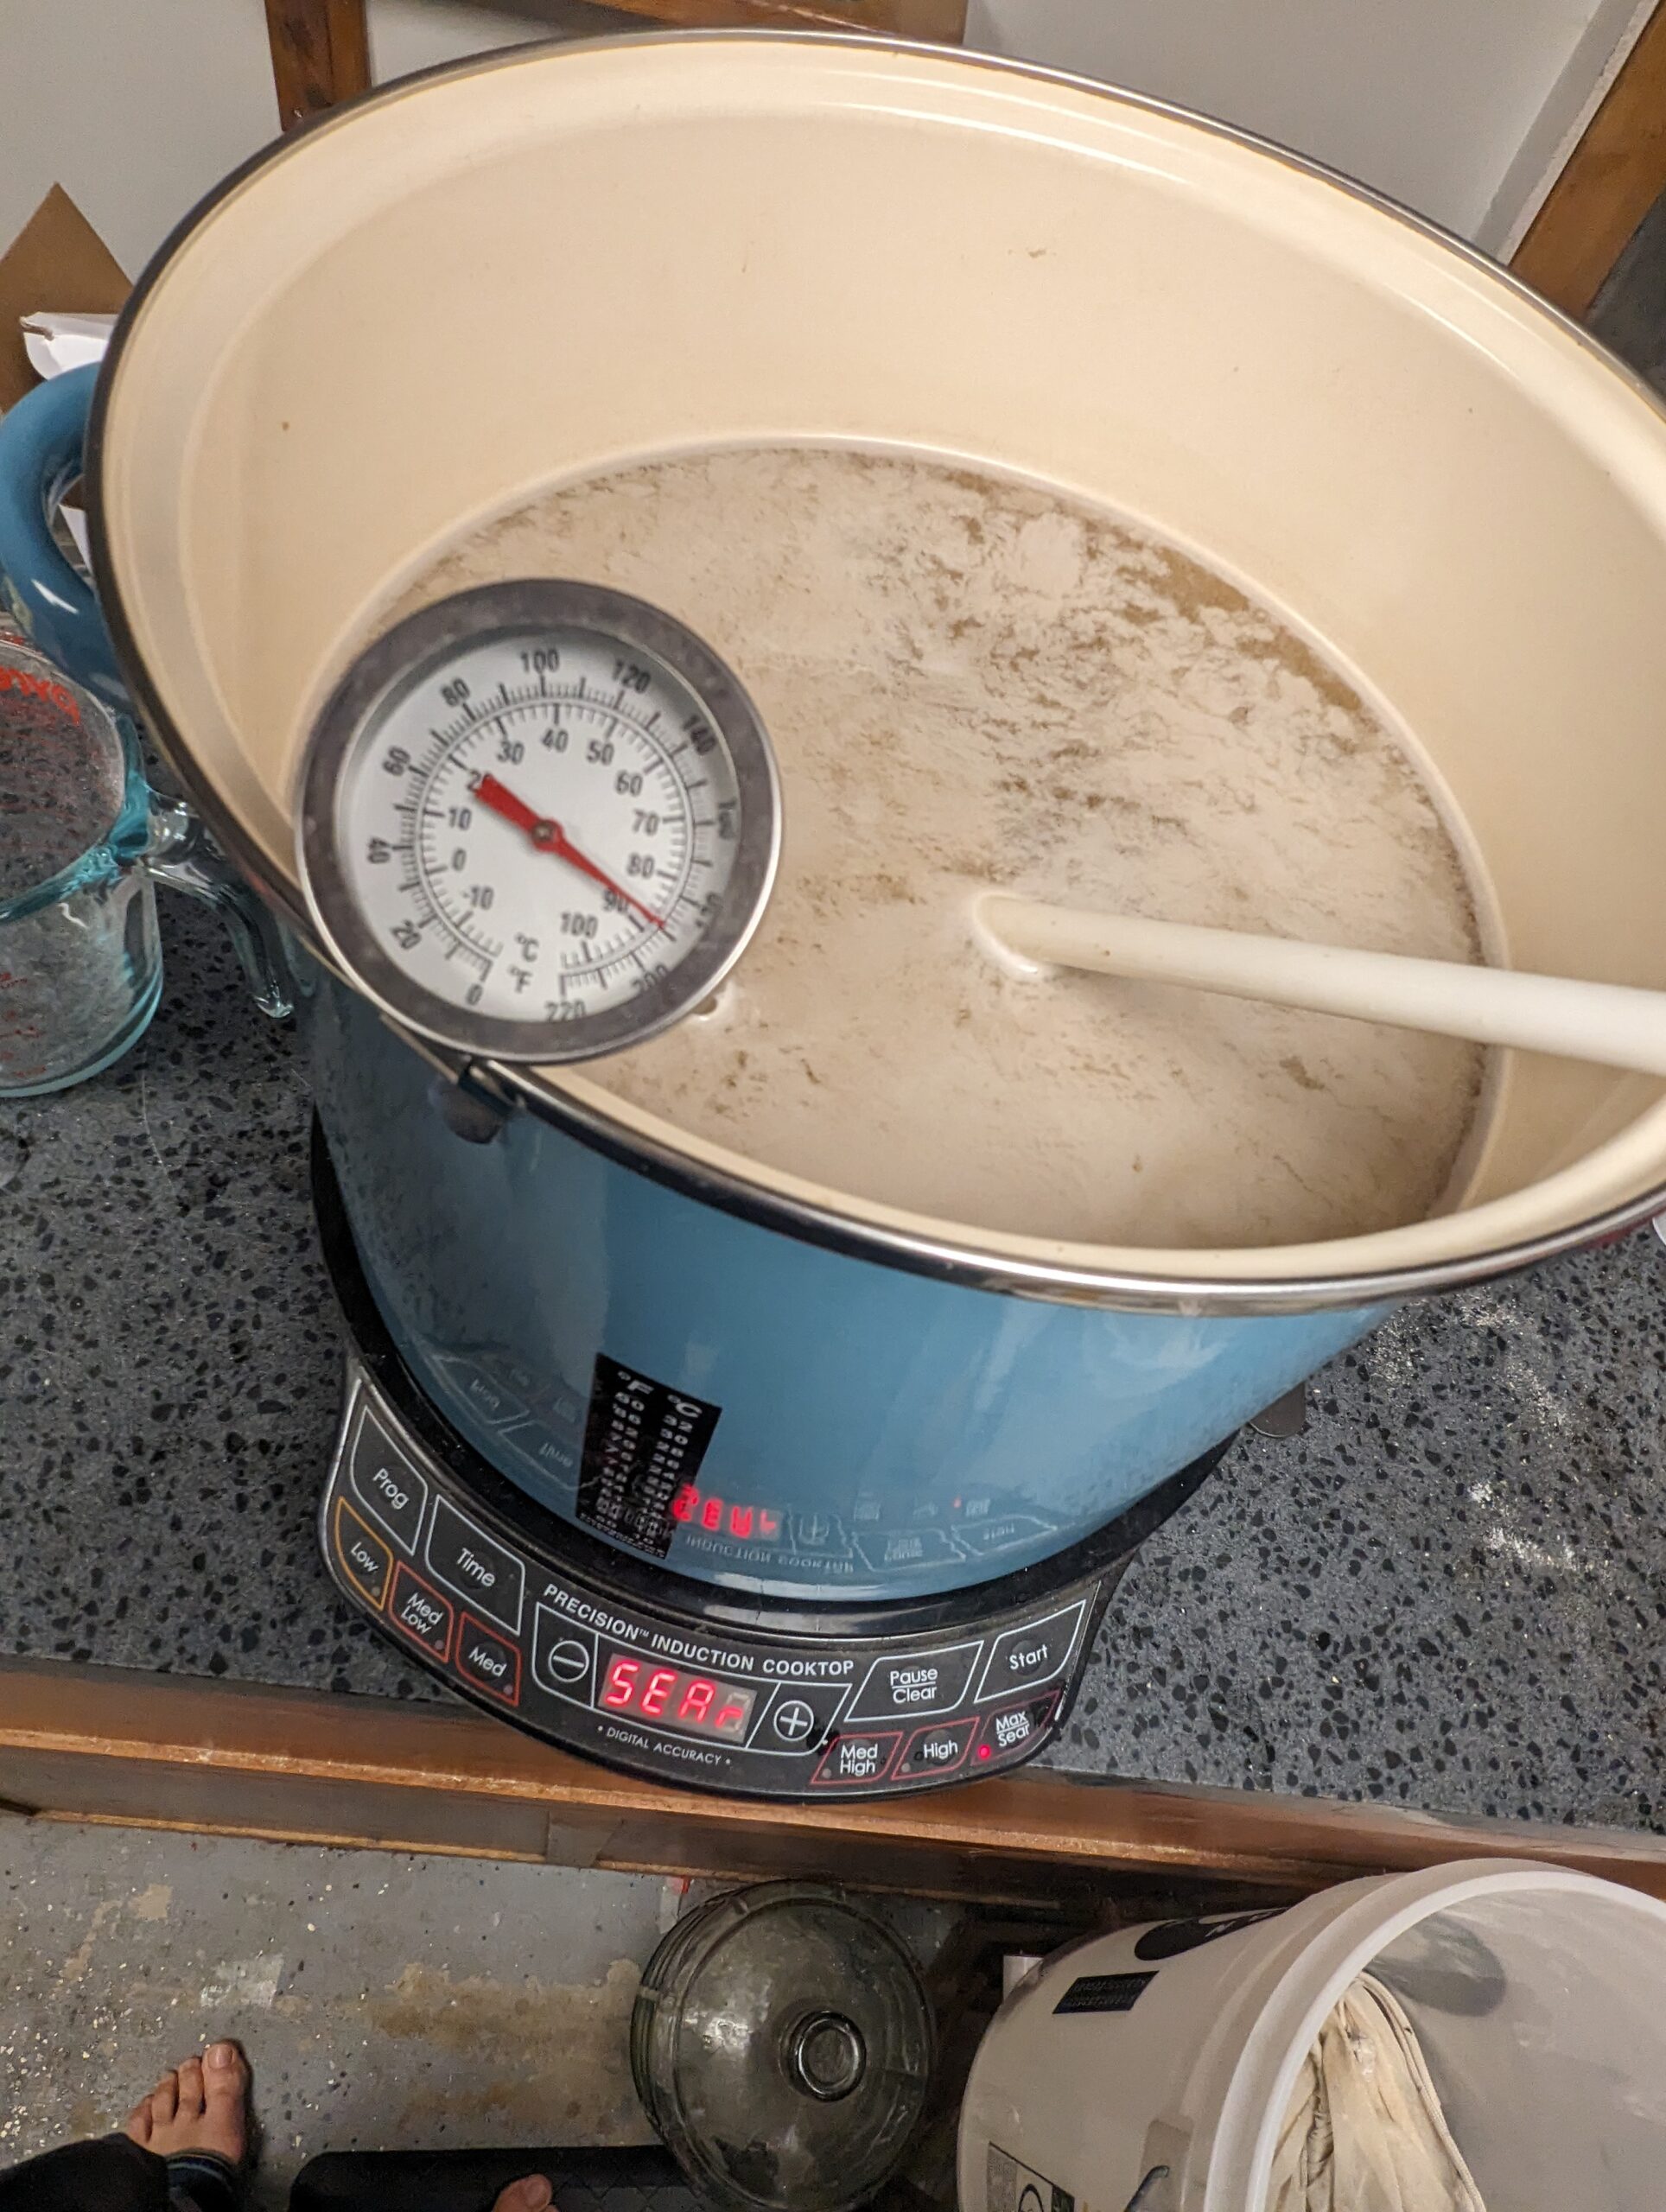
So now the yeast is frozen and I have to see if I can unfreeze it and build up a starter from a 15 ML vile. So first I started off with 1000ML and 50 G of Dry Malt Extract. This will give me a Original Gravity (OG) of about 1.020. I don’t want to stress the yeast with a lot sugars. Start small and work my way up. Once I have my 1.020 wort I add the vile and put on the stir plate and after a day, I’m getting activity. After a few days I put the flask in the refrigerator for a few hours, Pulled about 400ML of cloudy beer off and added in 1000ML with 100G of Dr Malt Extract for a OG of ~1.040. Let that go and poof my yeast start was ready to go. Brewed and pitched and within hours the beer was fermenting away. Tasted the beer and had no issues, I call that a success.


The biggest thing with this is clean, clean, clean, and sanitized. Sterile is the best but at home that isn’t going to happen. I have 2 dogs, 2 cats, and 2 kids lol. Well let me know if you have any questions and let me know if you tried this before. Pretty cool, starting to feel like a scientist.
Brew On.